Tabletop RPG Dungeon Tiles
When COVID-19 struck I thought it would be a prefect opportunity to build some RPG dungeon tiles. I then embarked on a two month journey of discovery of different types of dungeon tiles. While searching though YouTube I came across numerous channels that had interesting styles of dungeon tiles. After weighing the benefits and issues with numerous tile types, I decided on the "Wyloch Tiles", from the YouTube channel called Wyloch's Armory. He created a style of tiles that have turn out to be a relatively easy to build and look great.
I have a few of them shown here:
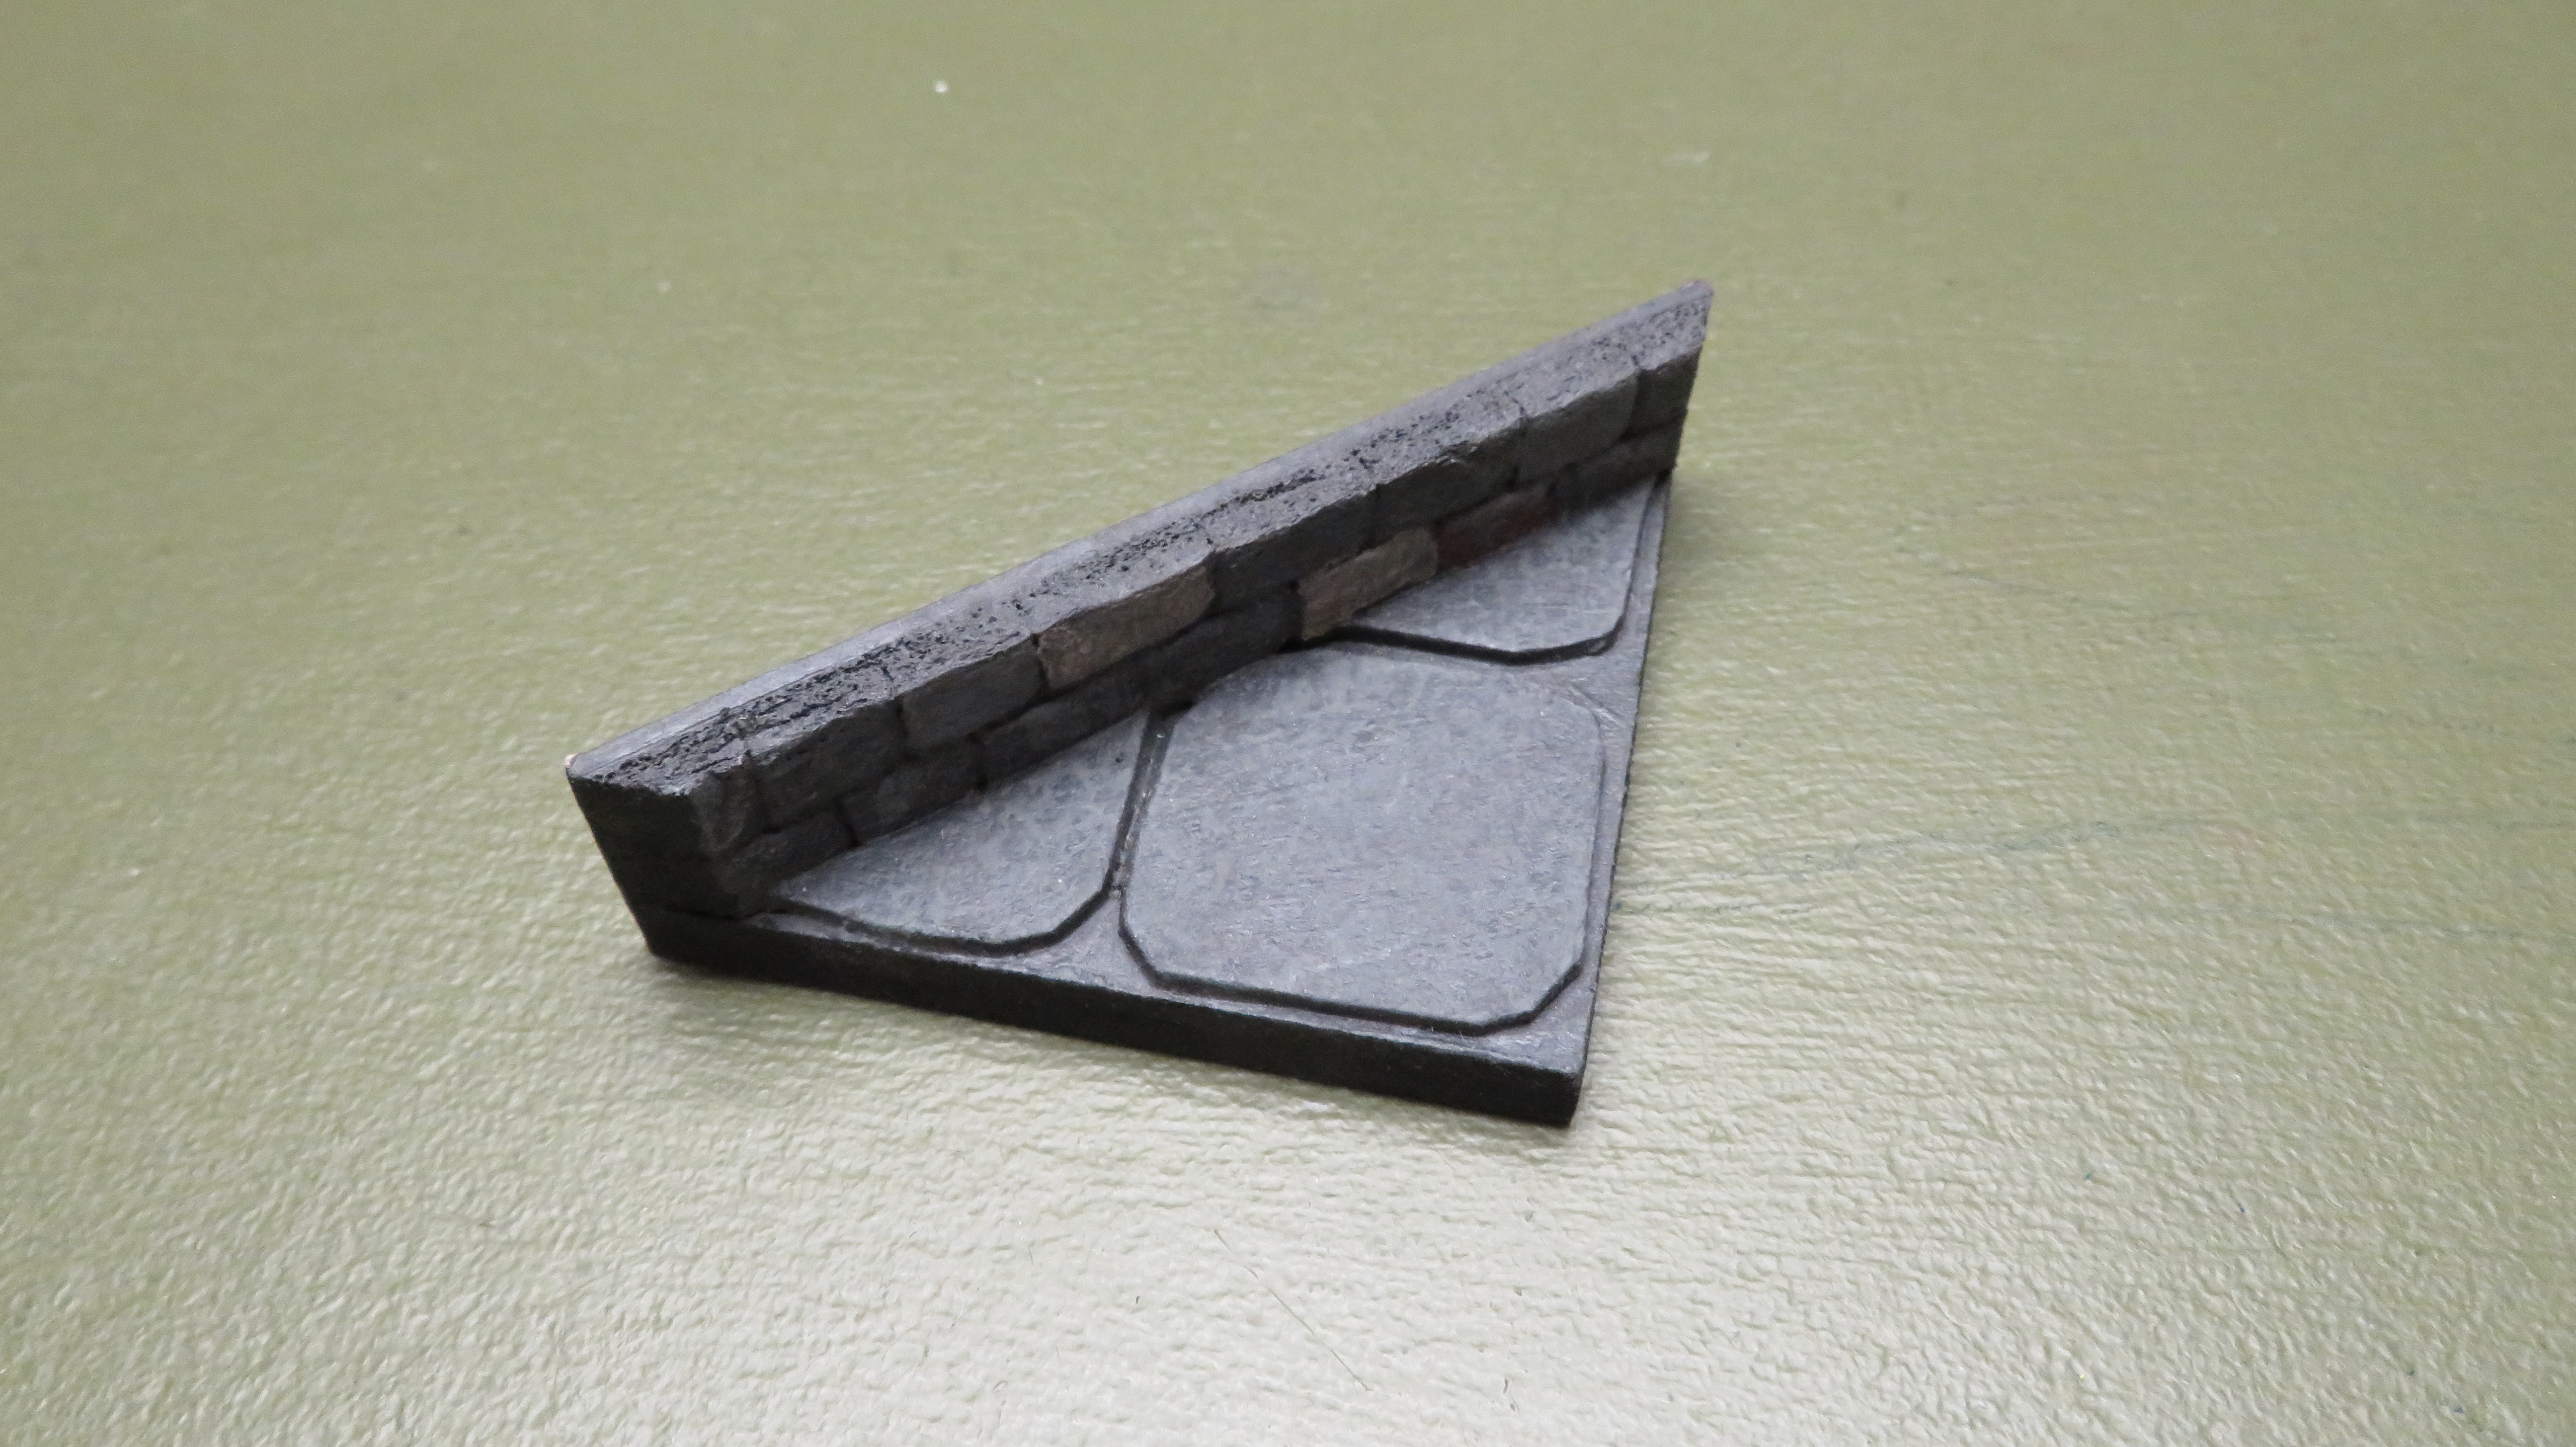
- Curved, Diagonal Dungeon Tiles.
- Tavern Tiles.
- Castle Tiles.
- There are many more....
I would recommend watching a most of his Wyloch's videos as he shows techniques that are relatively easy to follow and produce great results. The big take away from the videos is the tile size and the mechanism he uses for making them have clip on walls. But like all things, the system can be improved a bit, so here is my take on Wyloch's Tiles.
Here is the list of tools you will need to build and assemble the tiles.
- Tablesaw {this is needed to cut the MDF sheet into the tiles}
- High-tooth count blade (ie 40 tooth 7 1/4", 80 tooth x 10").
- 18mm OLFA Utility Knife {You can use cheaper Dollar Store brand}.
- White PVA Wood Glue.
Here is a list of the supplies you will need:
- 1/4" x 2' x 4' MDF.
- Grafix Medium Weight Chipboard Sheets (25pk).
- White foam-core board {Cheap Dollar Store brand, as you can peel off the paper on the face without residue}.
- UHU Glue Sticks {You can use cheaper Dollar Store brands}.
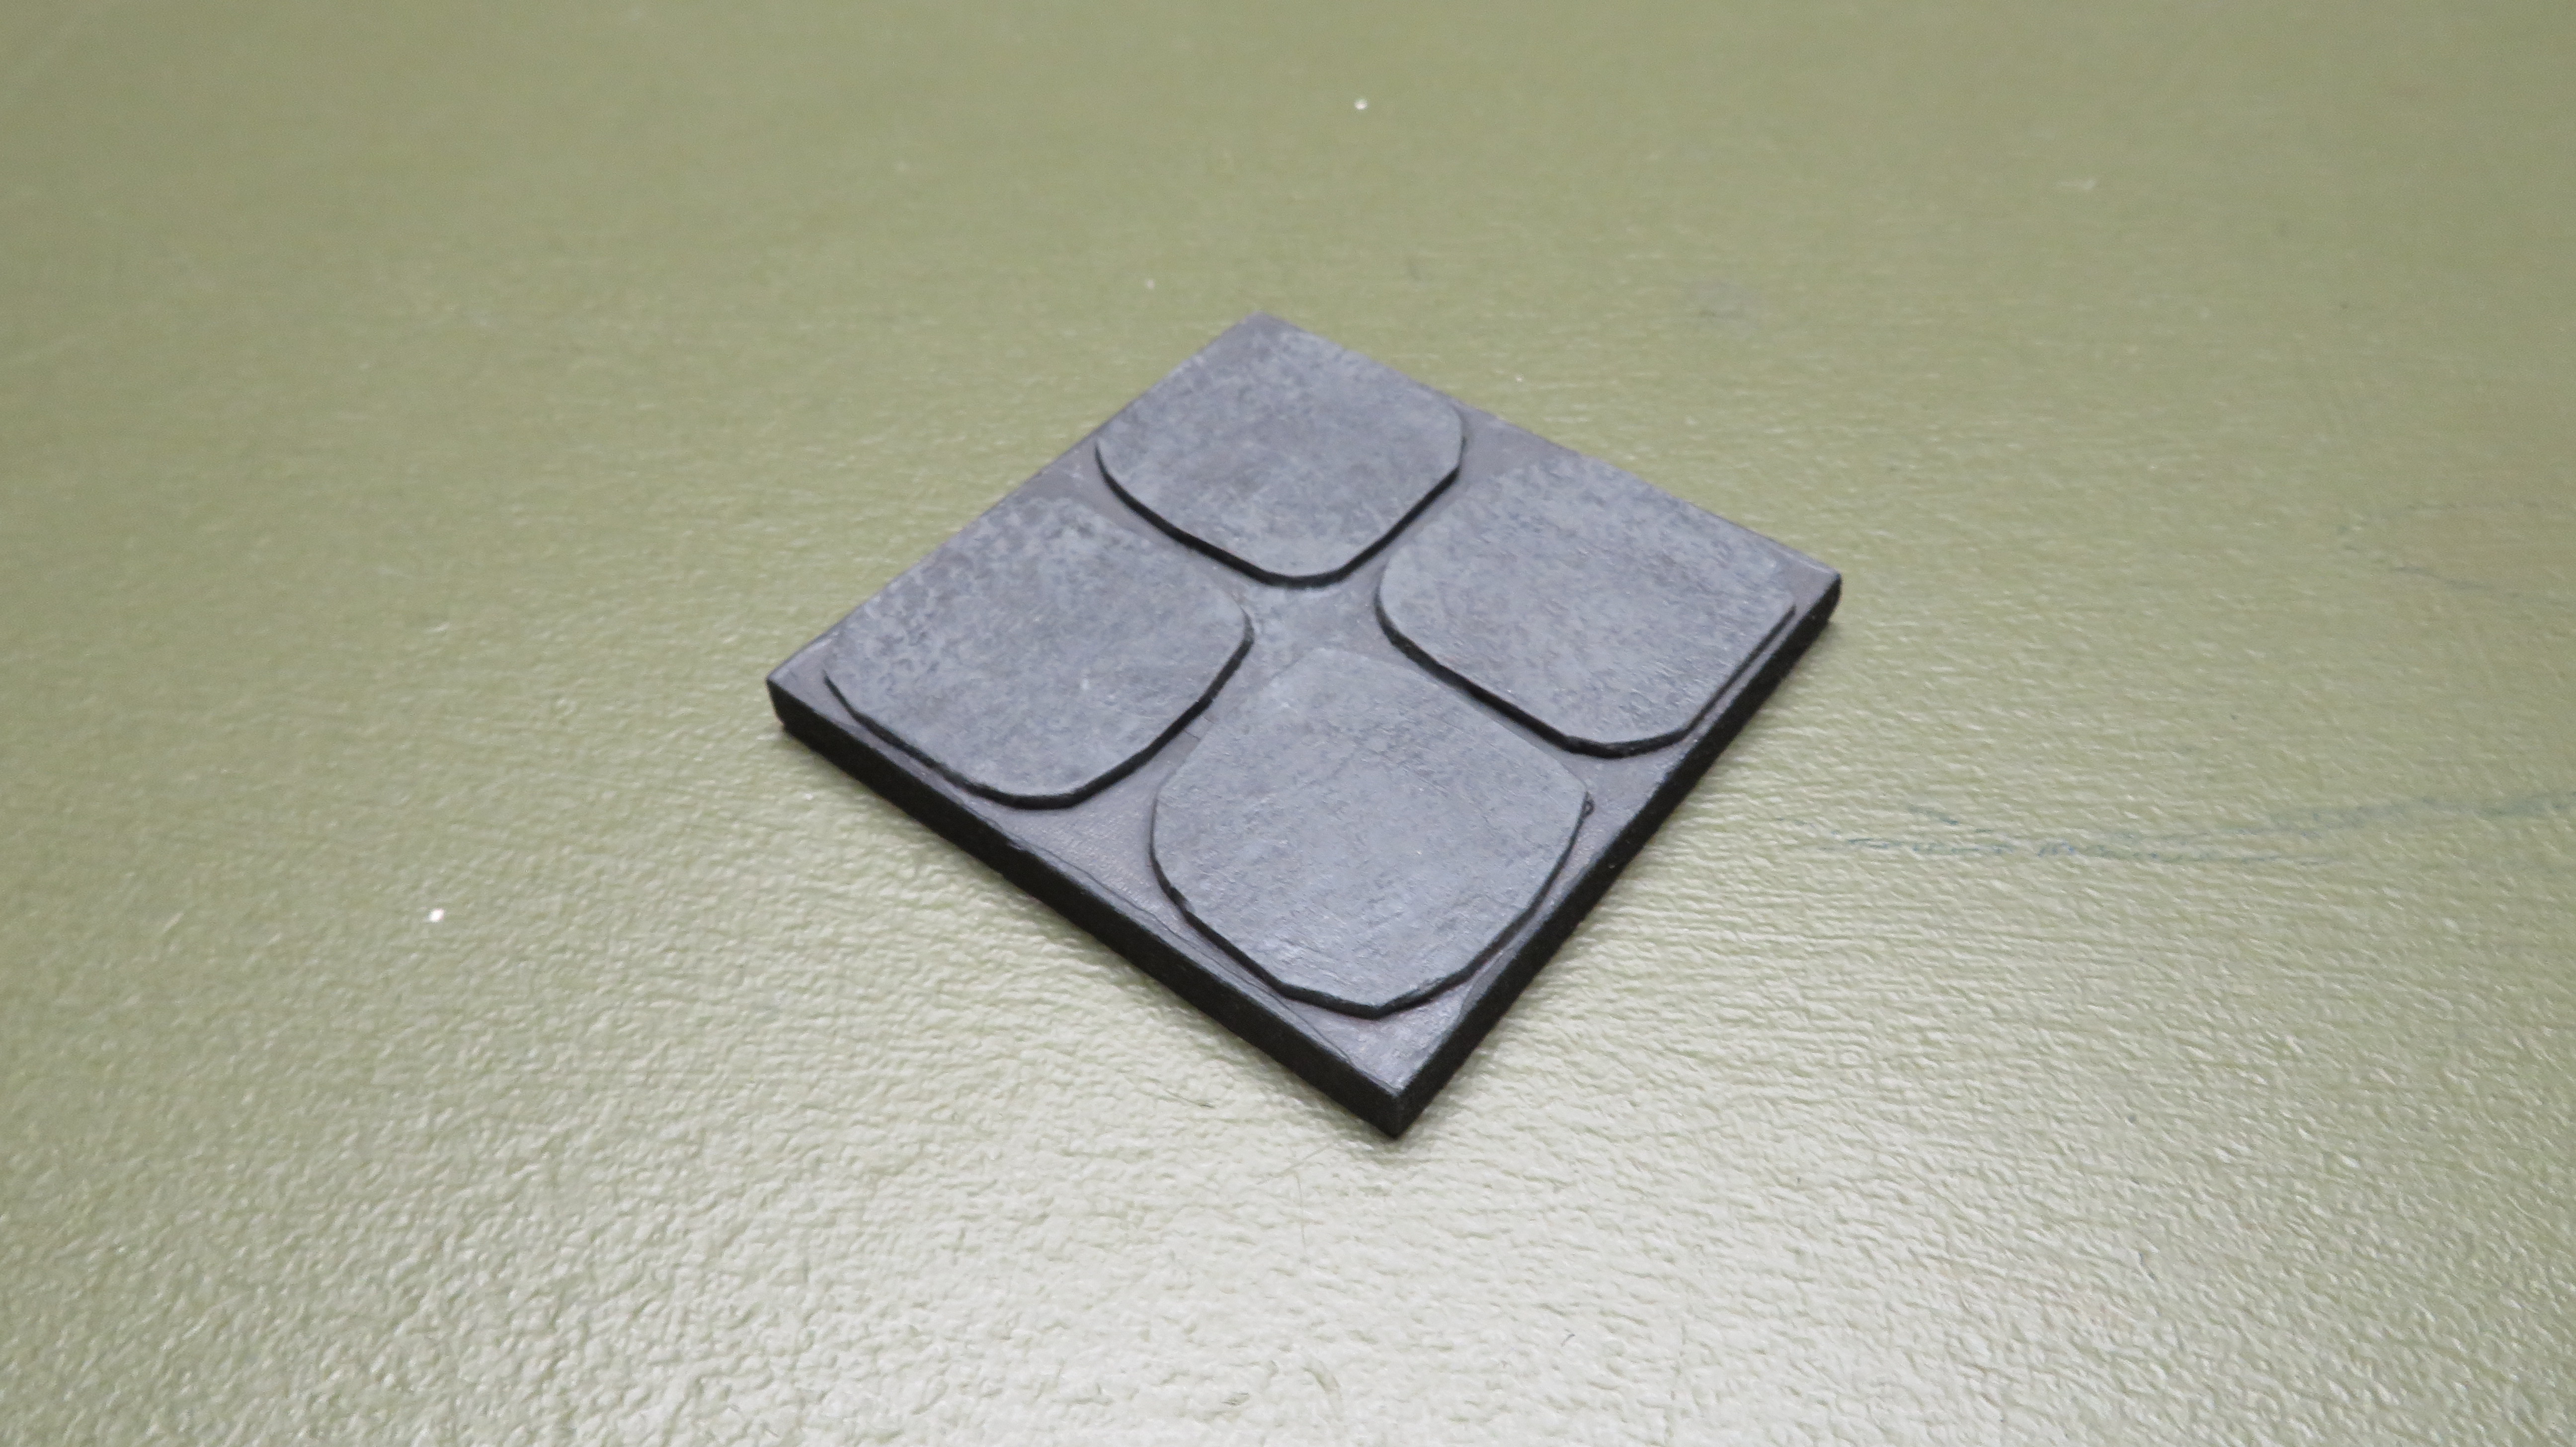
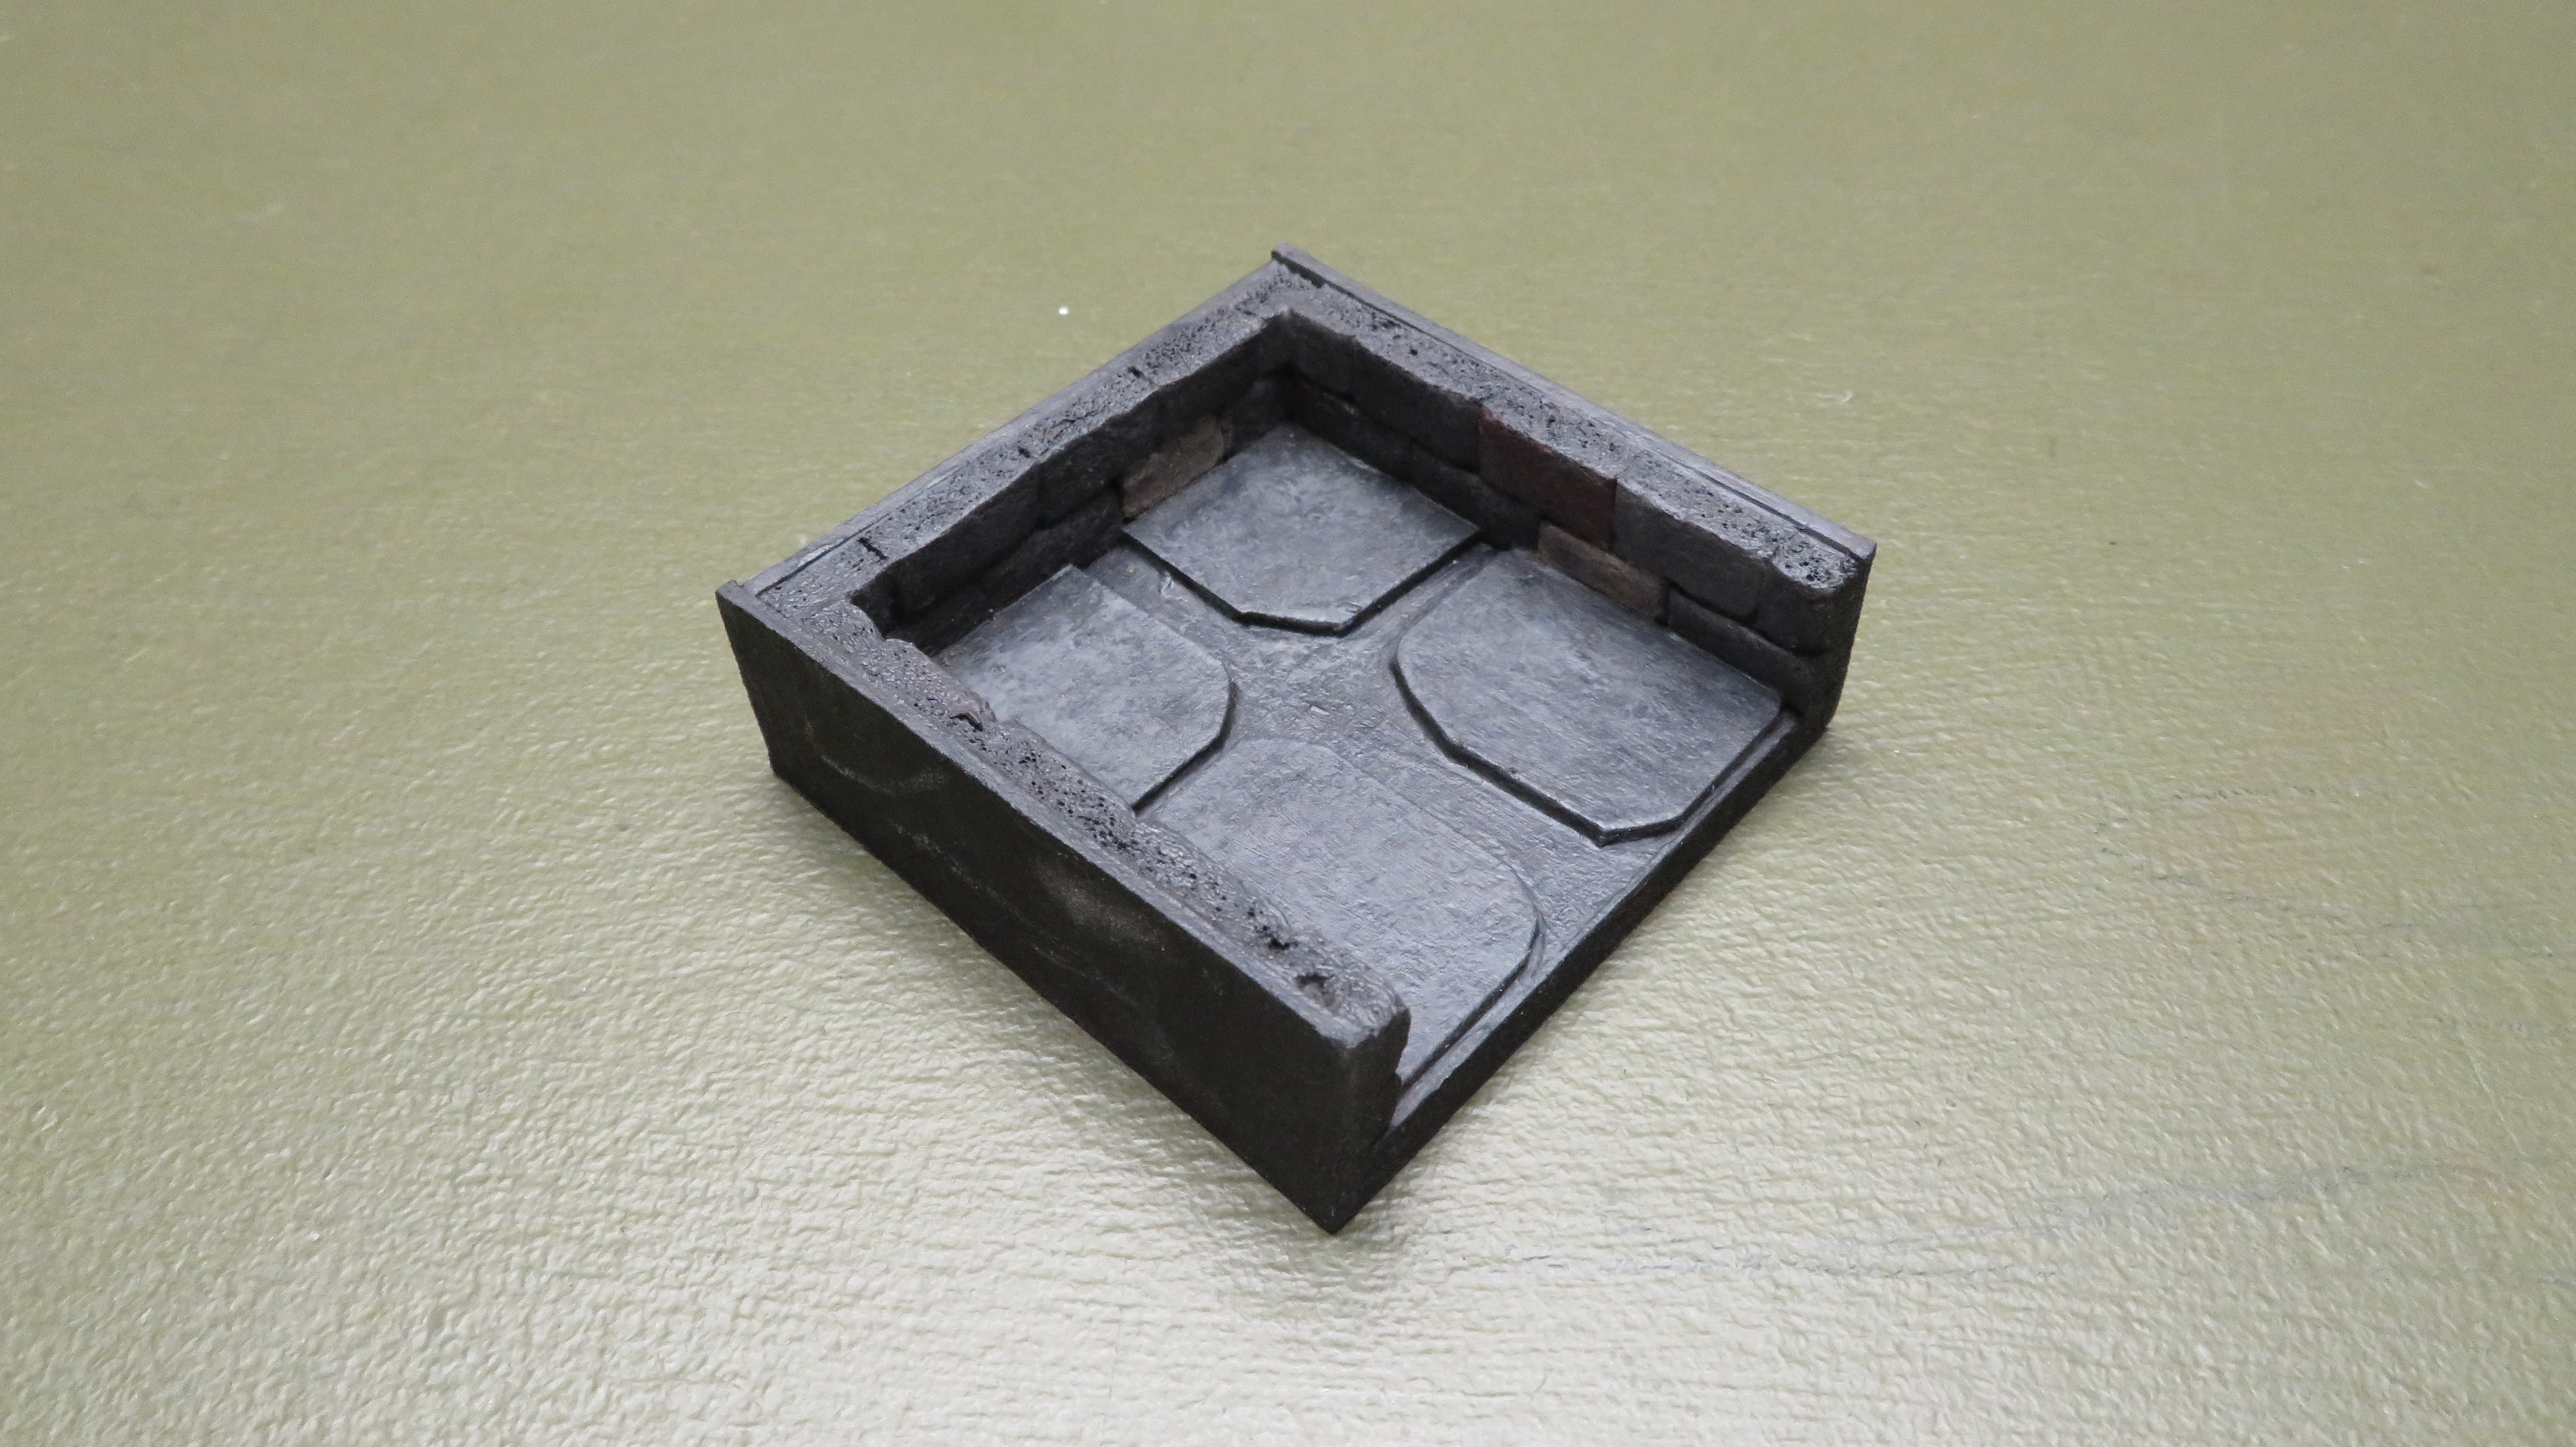
The first step is to make the bases from the MDF. The sizes will vary as the Grafix must be taken in to account for the sides with walls. I have given a list of sizes below in the picture. The wide black lines are meant to represent which side the wall will go on.
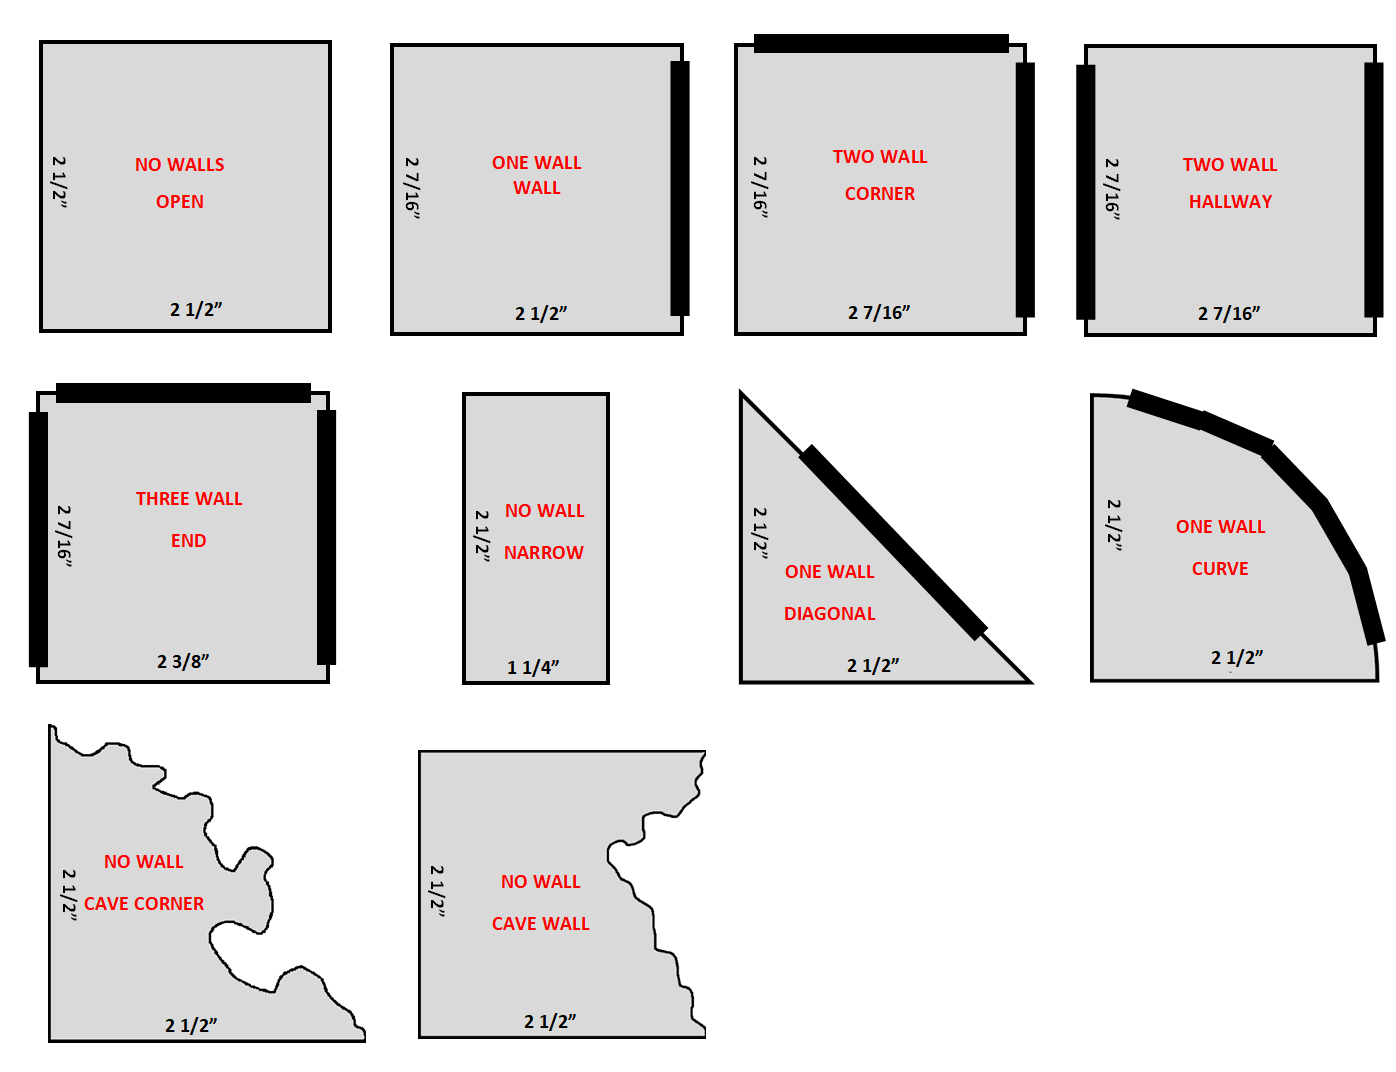
For a basic dungeon I would recommend the following:
- Base Tile, No Walls x 20
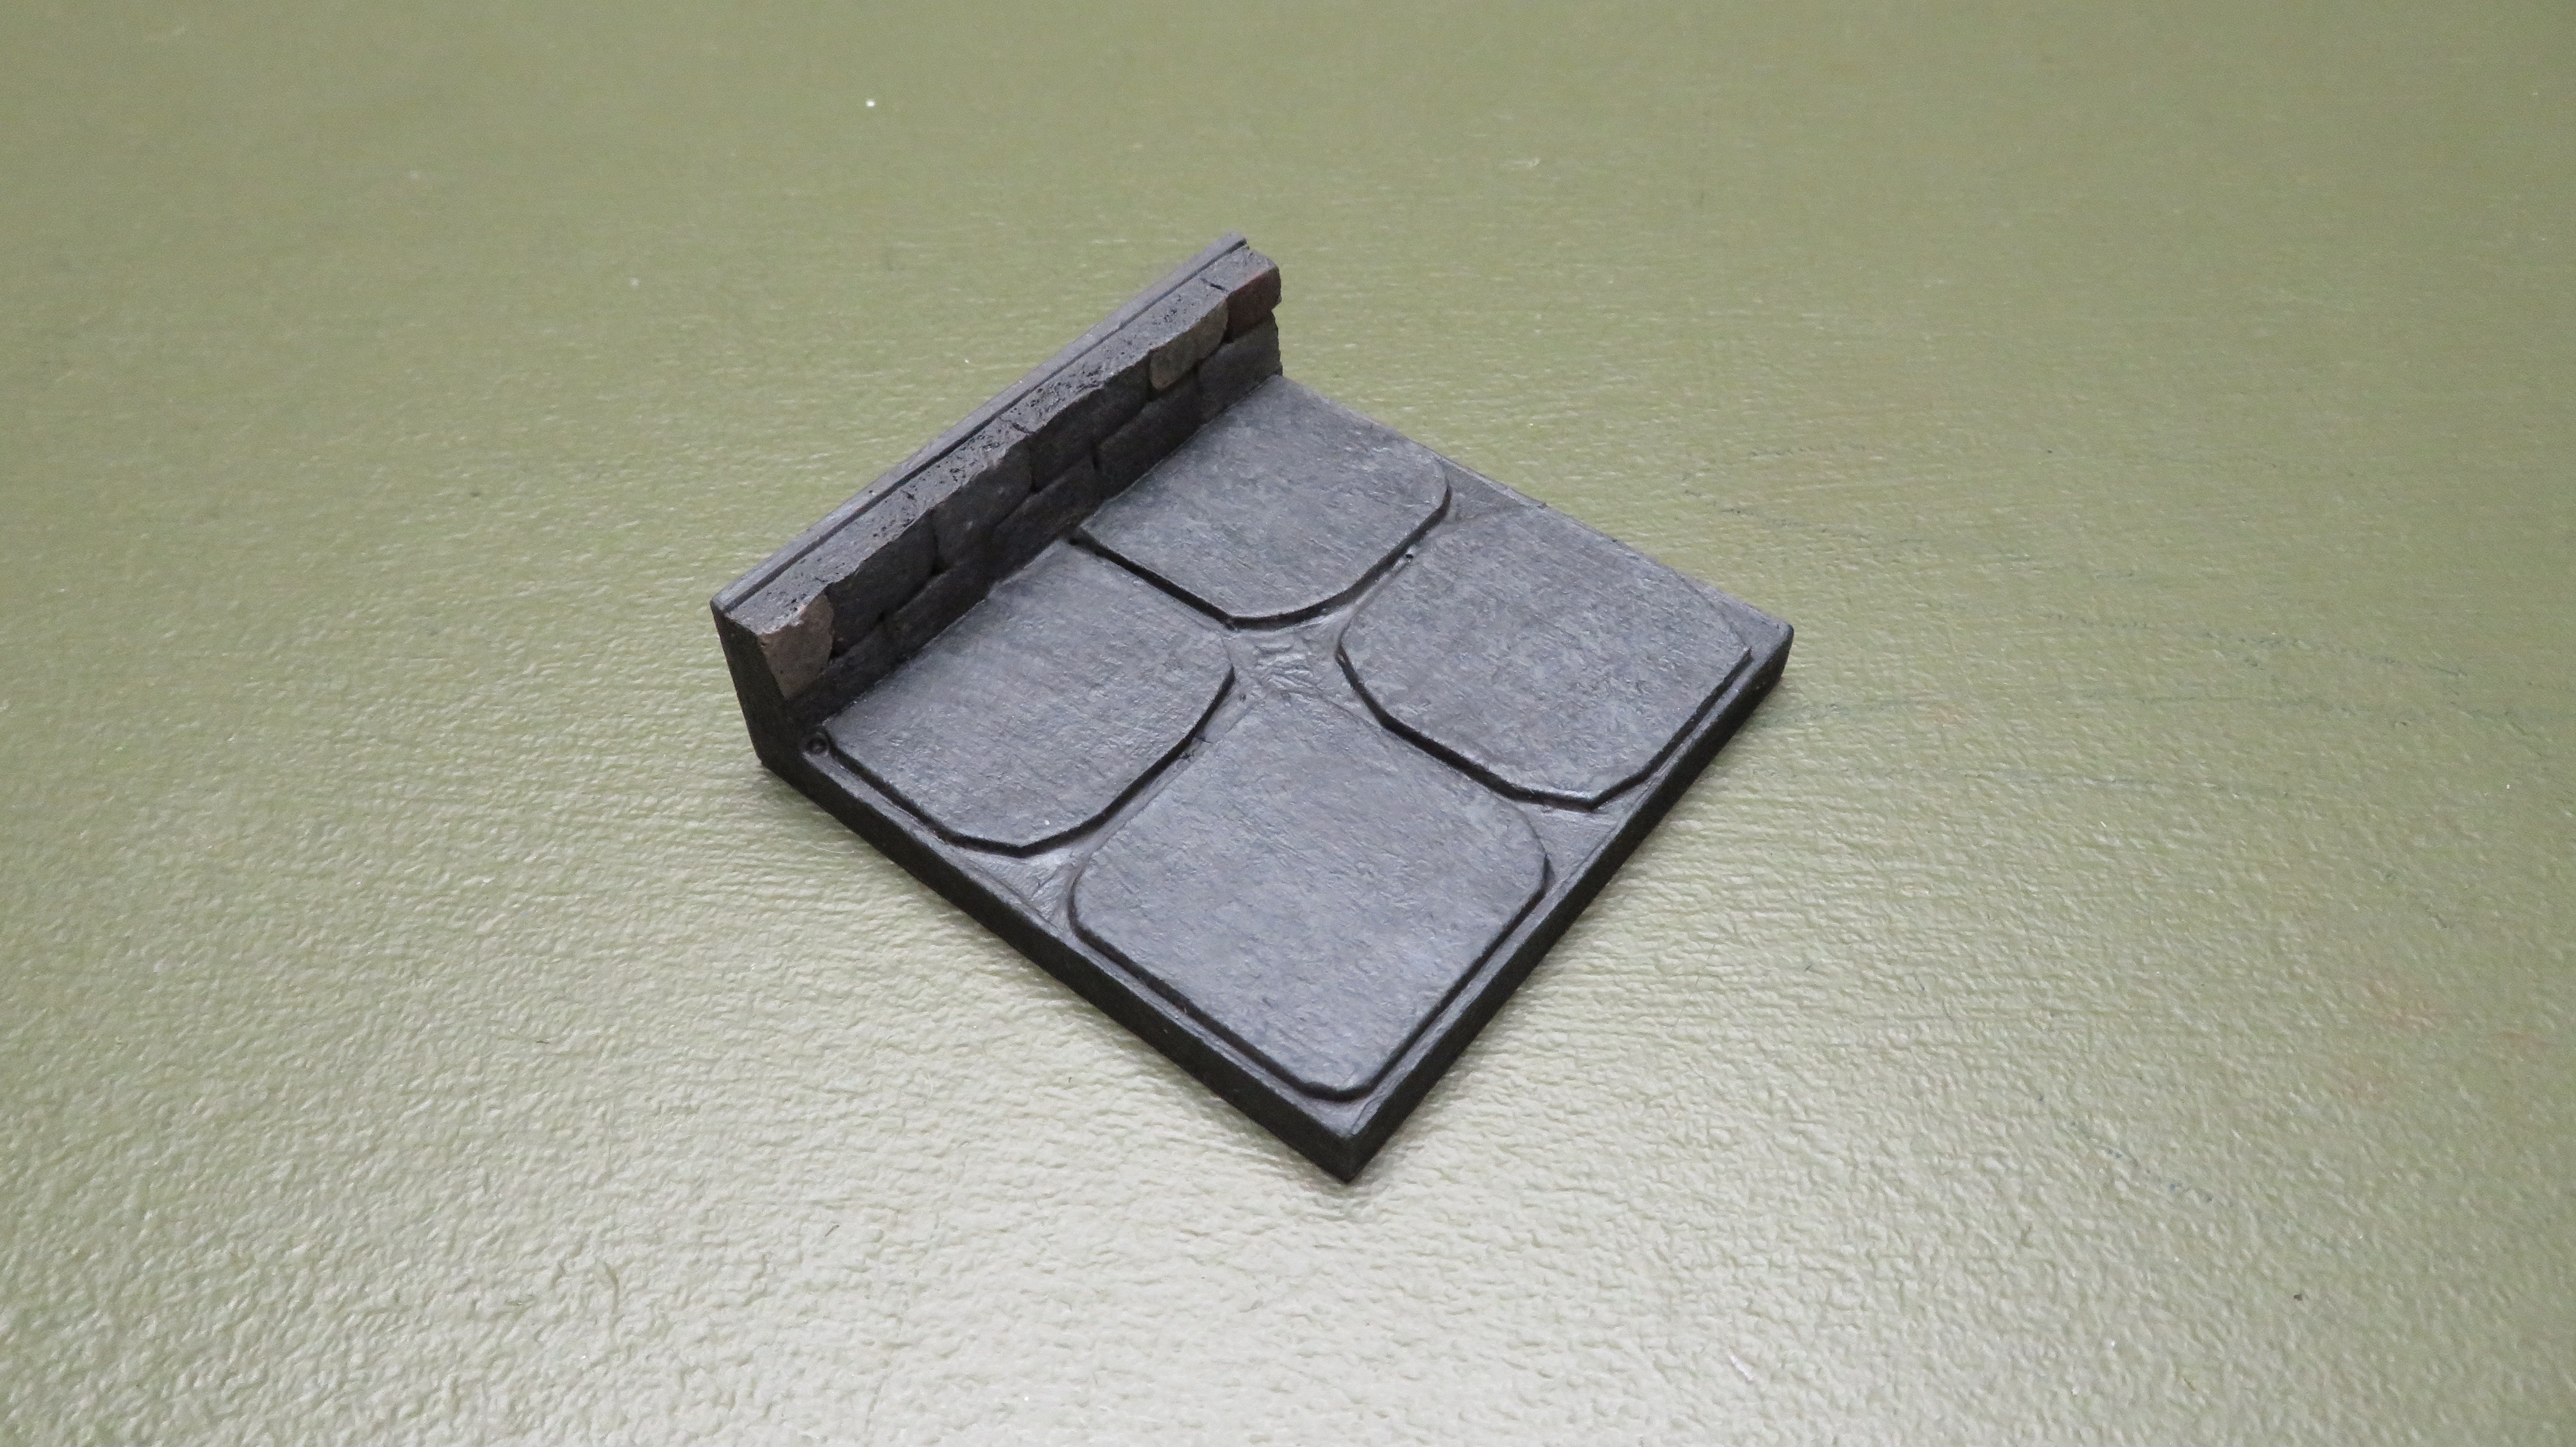
- Base Tile, One Wall x 10
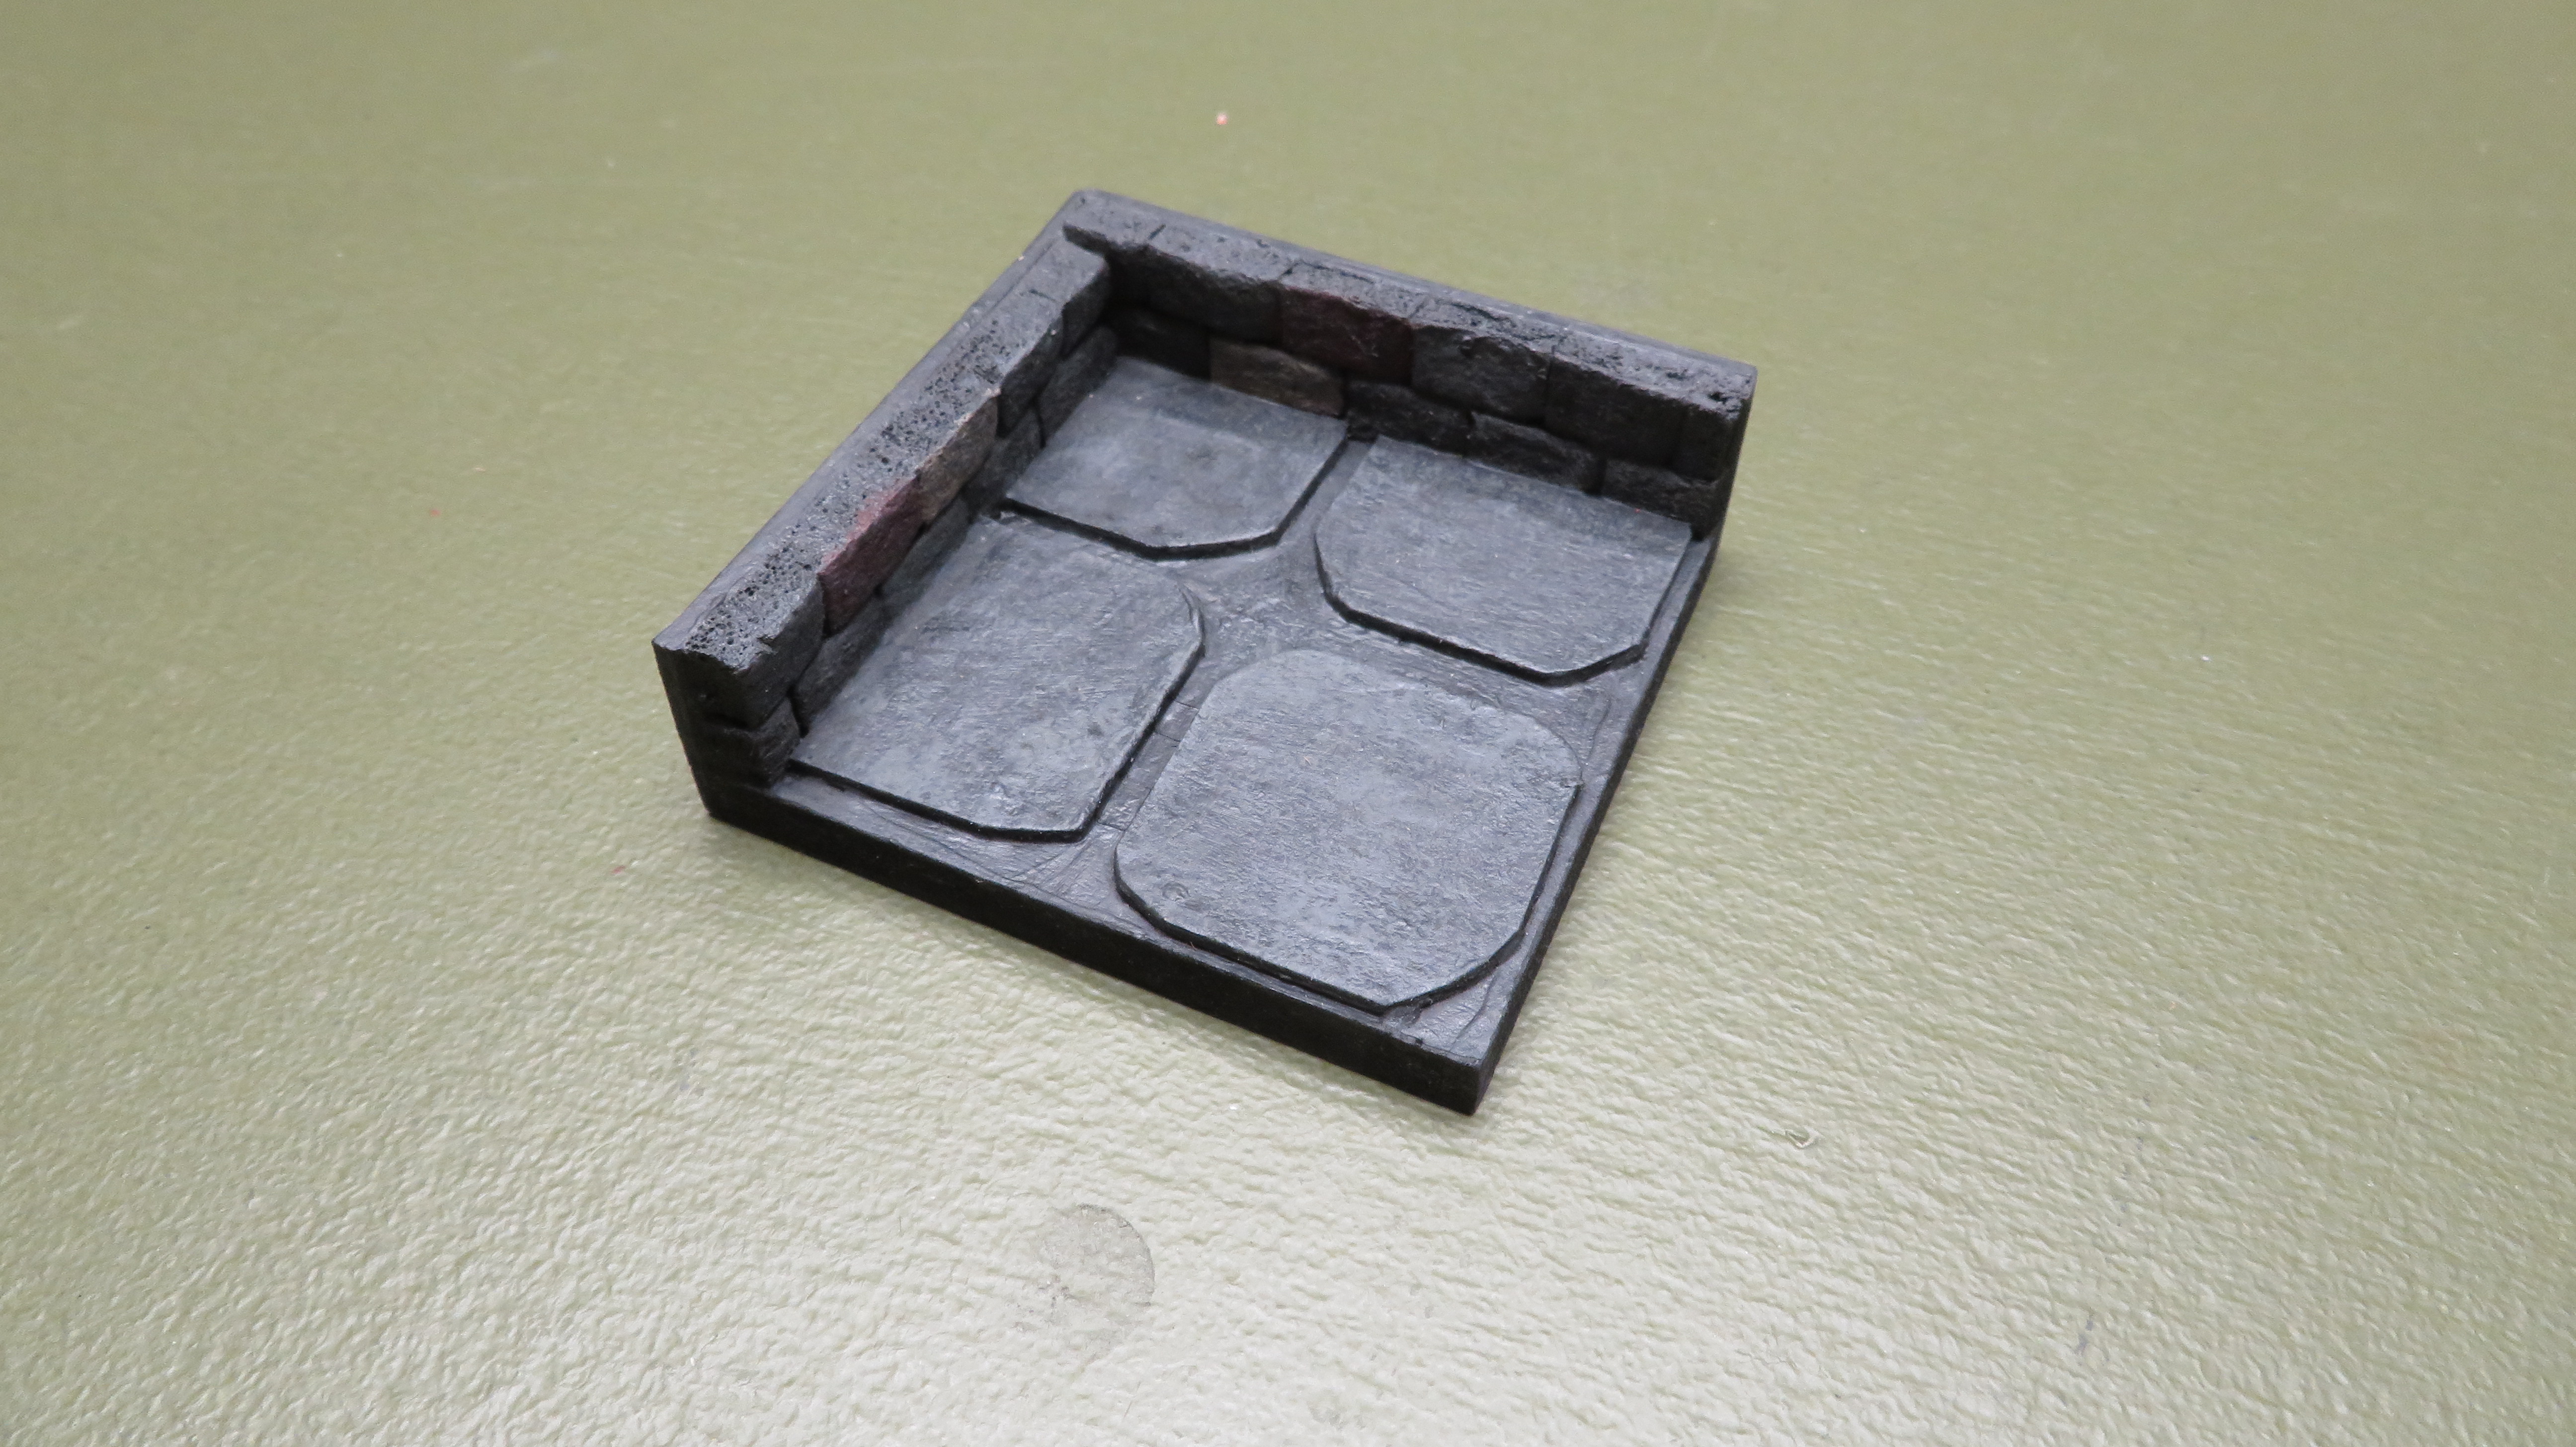
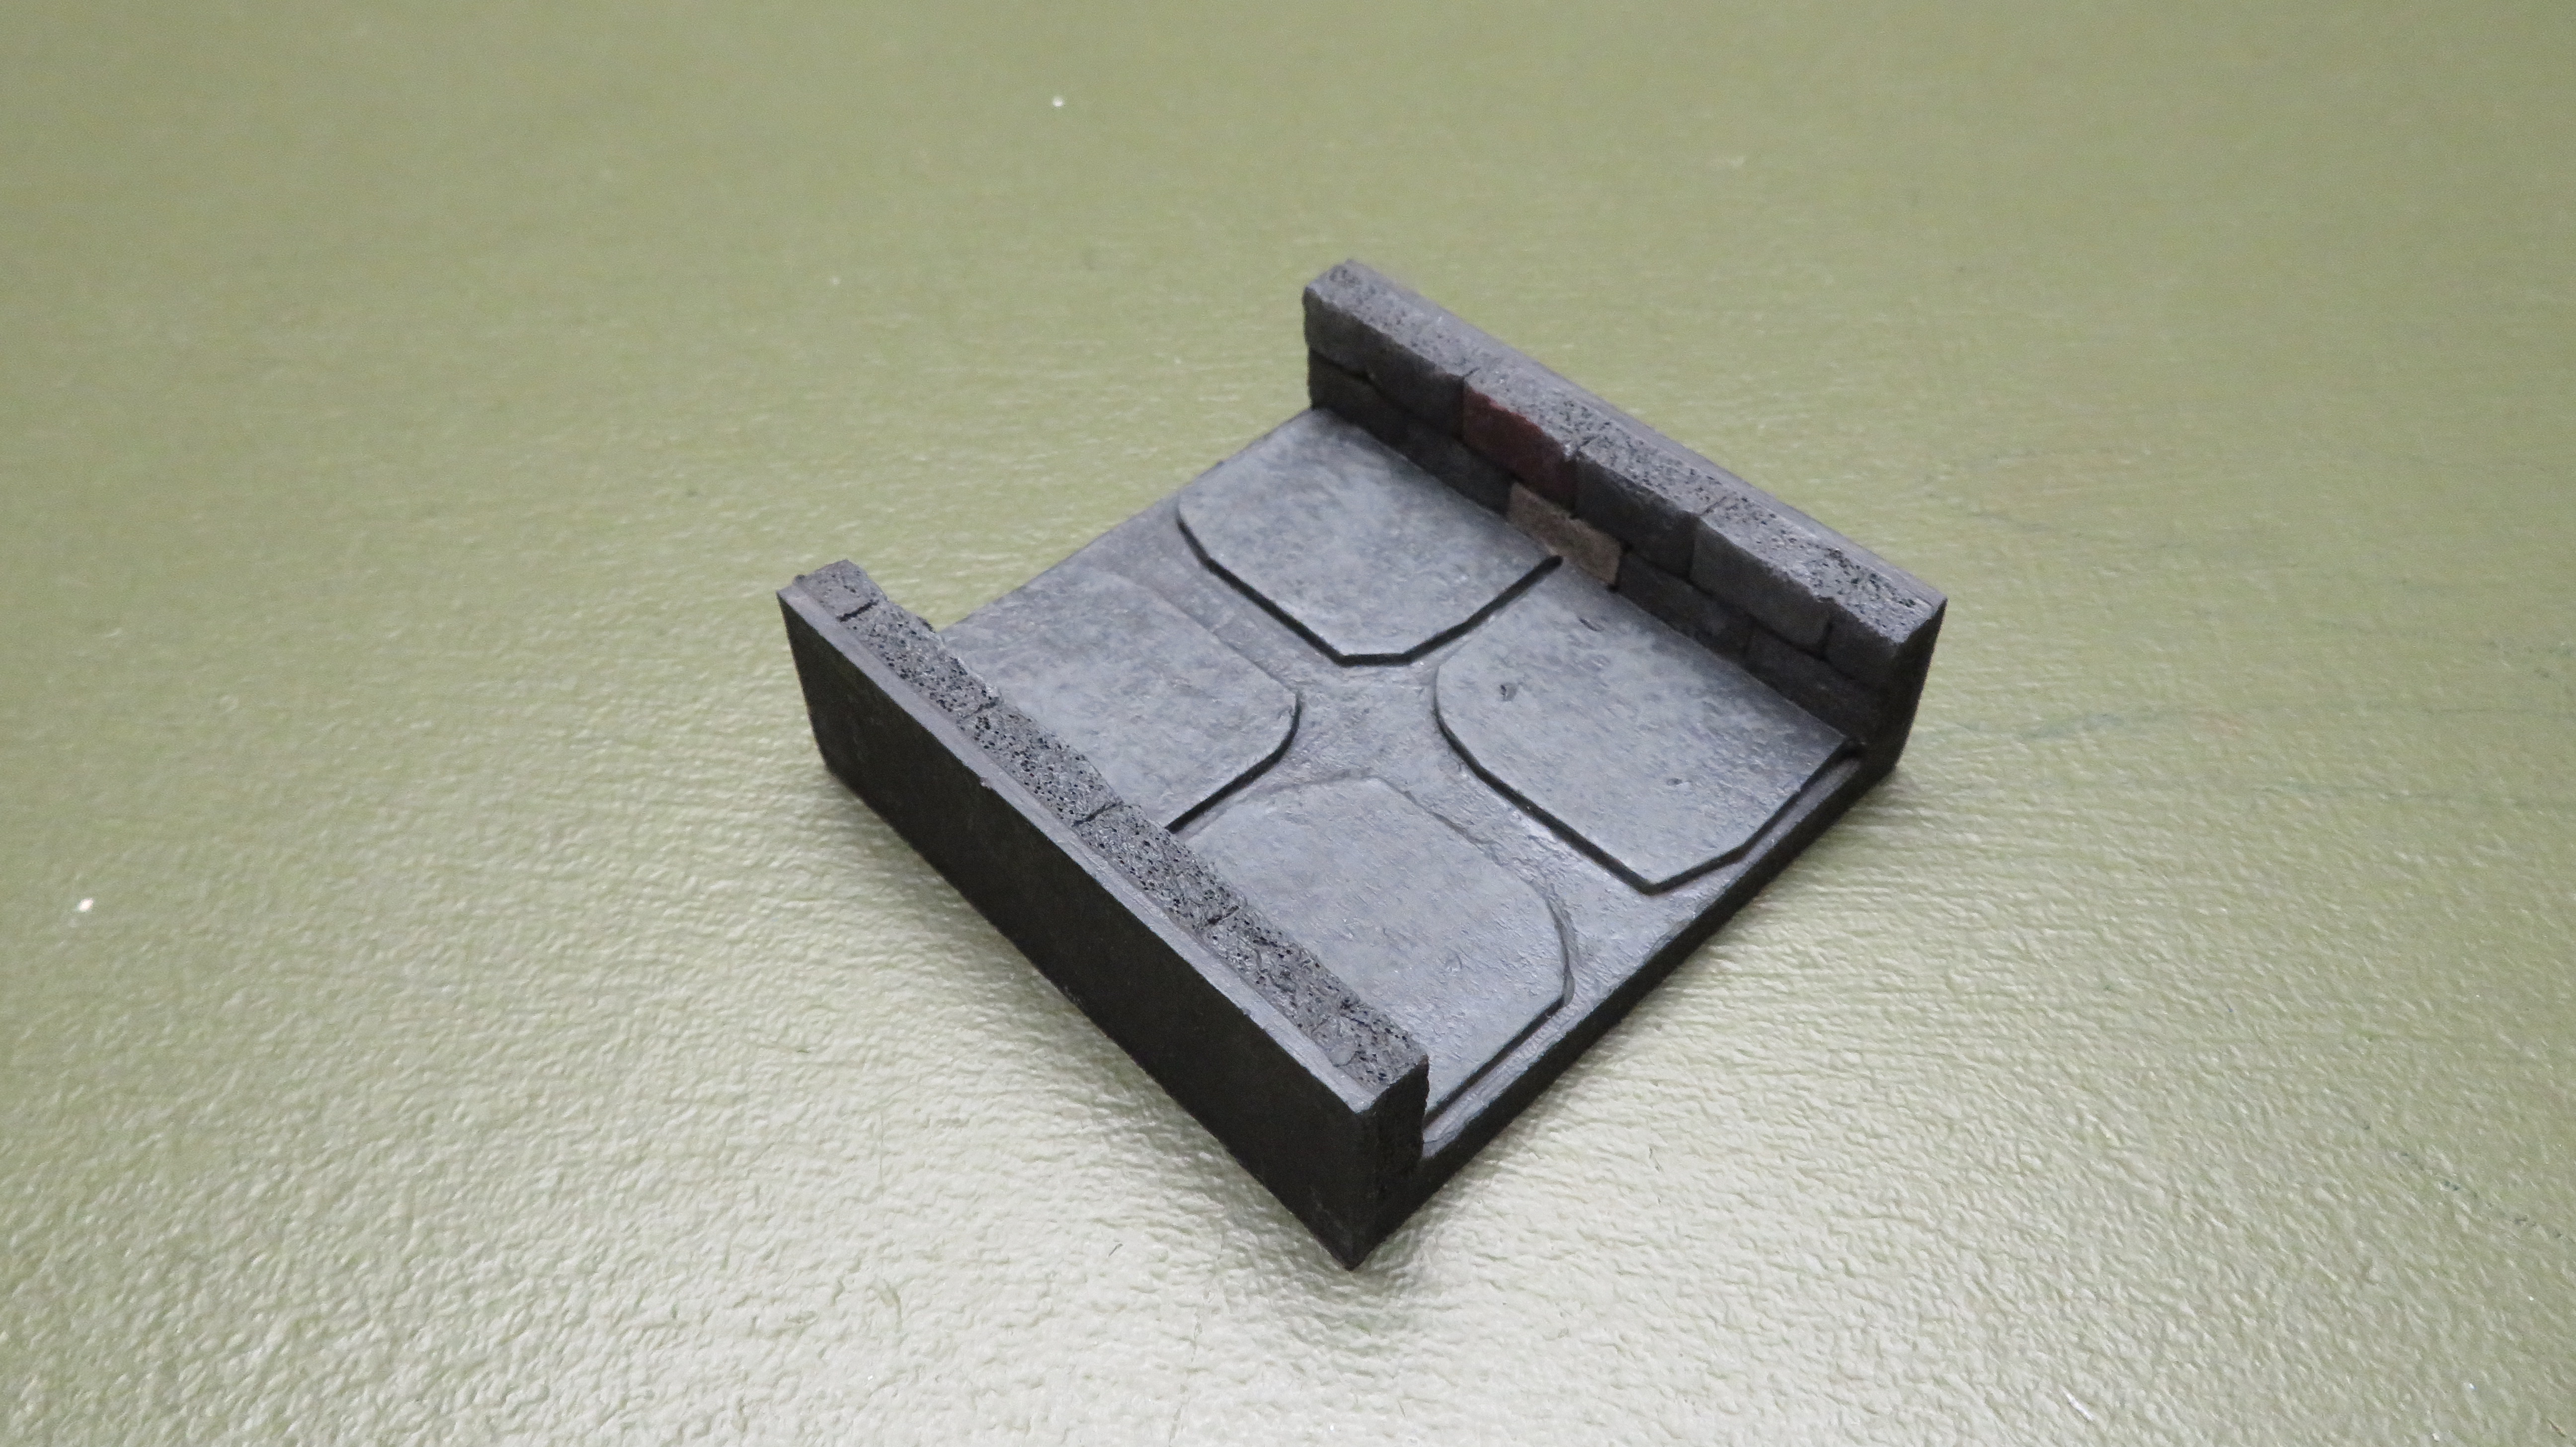
- Base Tile, Two Wall x 10
- Base Tile, Three Wall x 6
- Special Tile, No Wall x 6
- Special Tile, Diagonal x 4
- Special Tile, Curved x 4
For a basic tavern system I would recommend the following:
- Base Tile, No Walls x 10
- Base Tile, One Wall x 10
- Base Tile, Two Wall x 10
- Base Tile, Three Wall x 8
For a basic cave system I would recommend the following:
- Base Tile, No Walls x 10
- Special Tile, Cave Angled x 10
- Special Tile, Cave Edge x 10
Instead of using cardboard for the bases, I have used 1/4" MDF (medium density fibre-board), a wood-like product that you can buy at most lumber supply shops like, Home Depot, Lowes and Rona. It comes in 2' x 4' quarter sheets and 4' x 8' full sheets, I would recommend the quarter sheet as it is easier to manage cutting it.

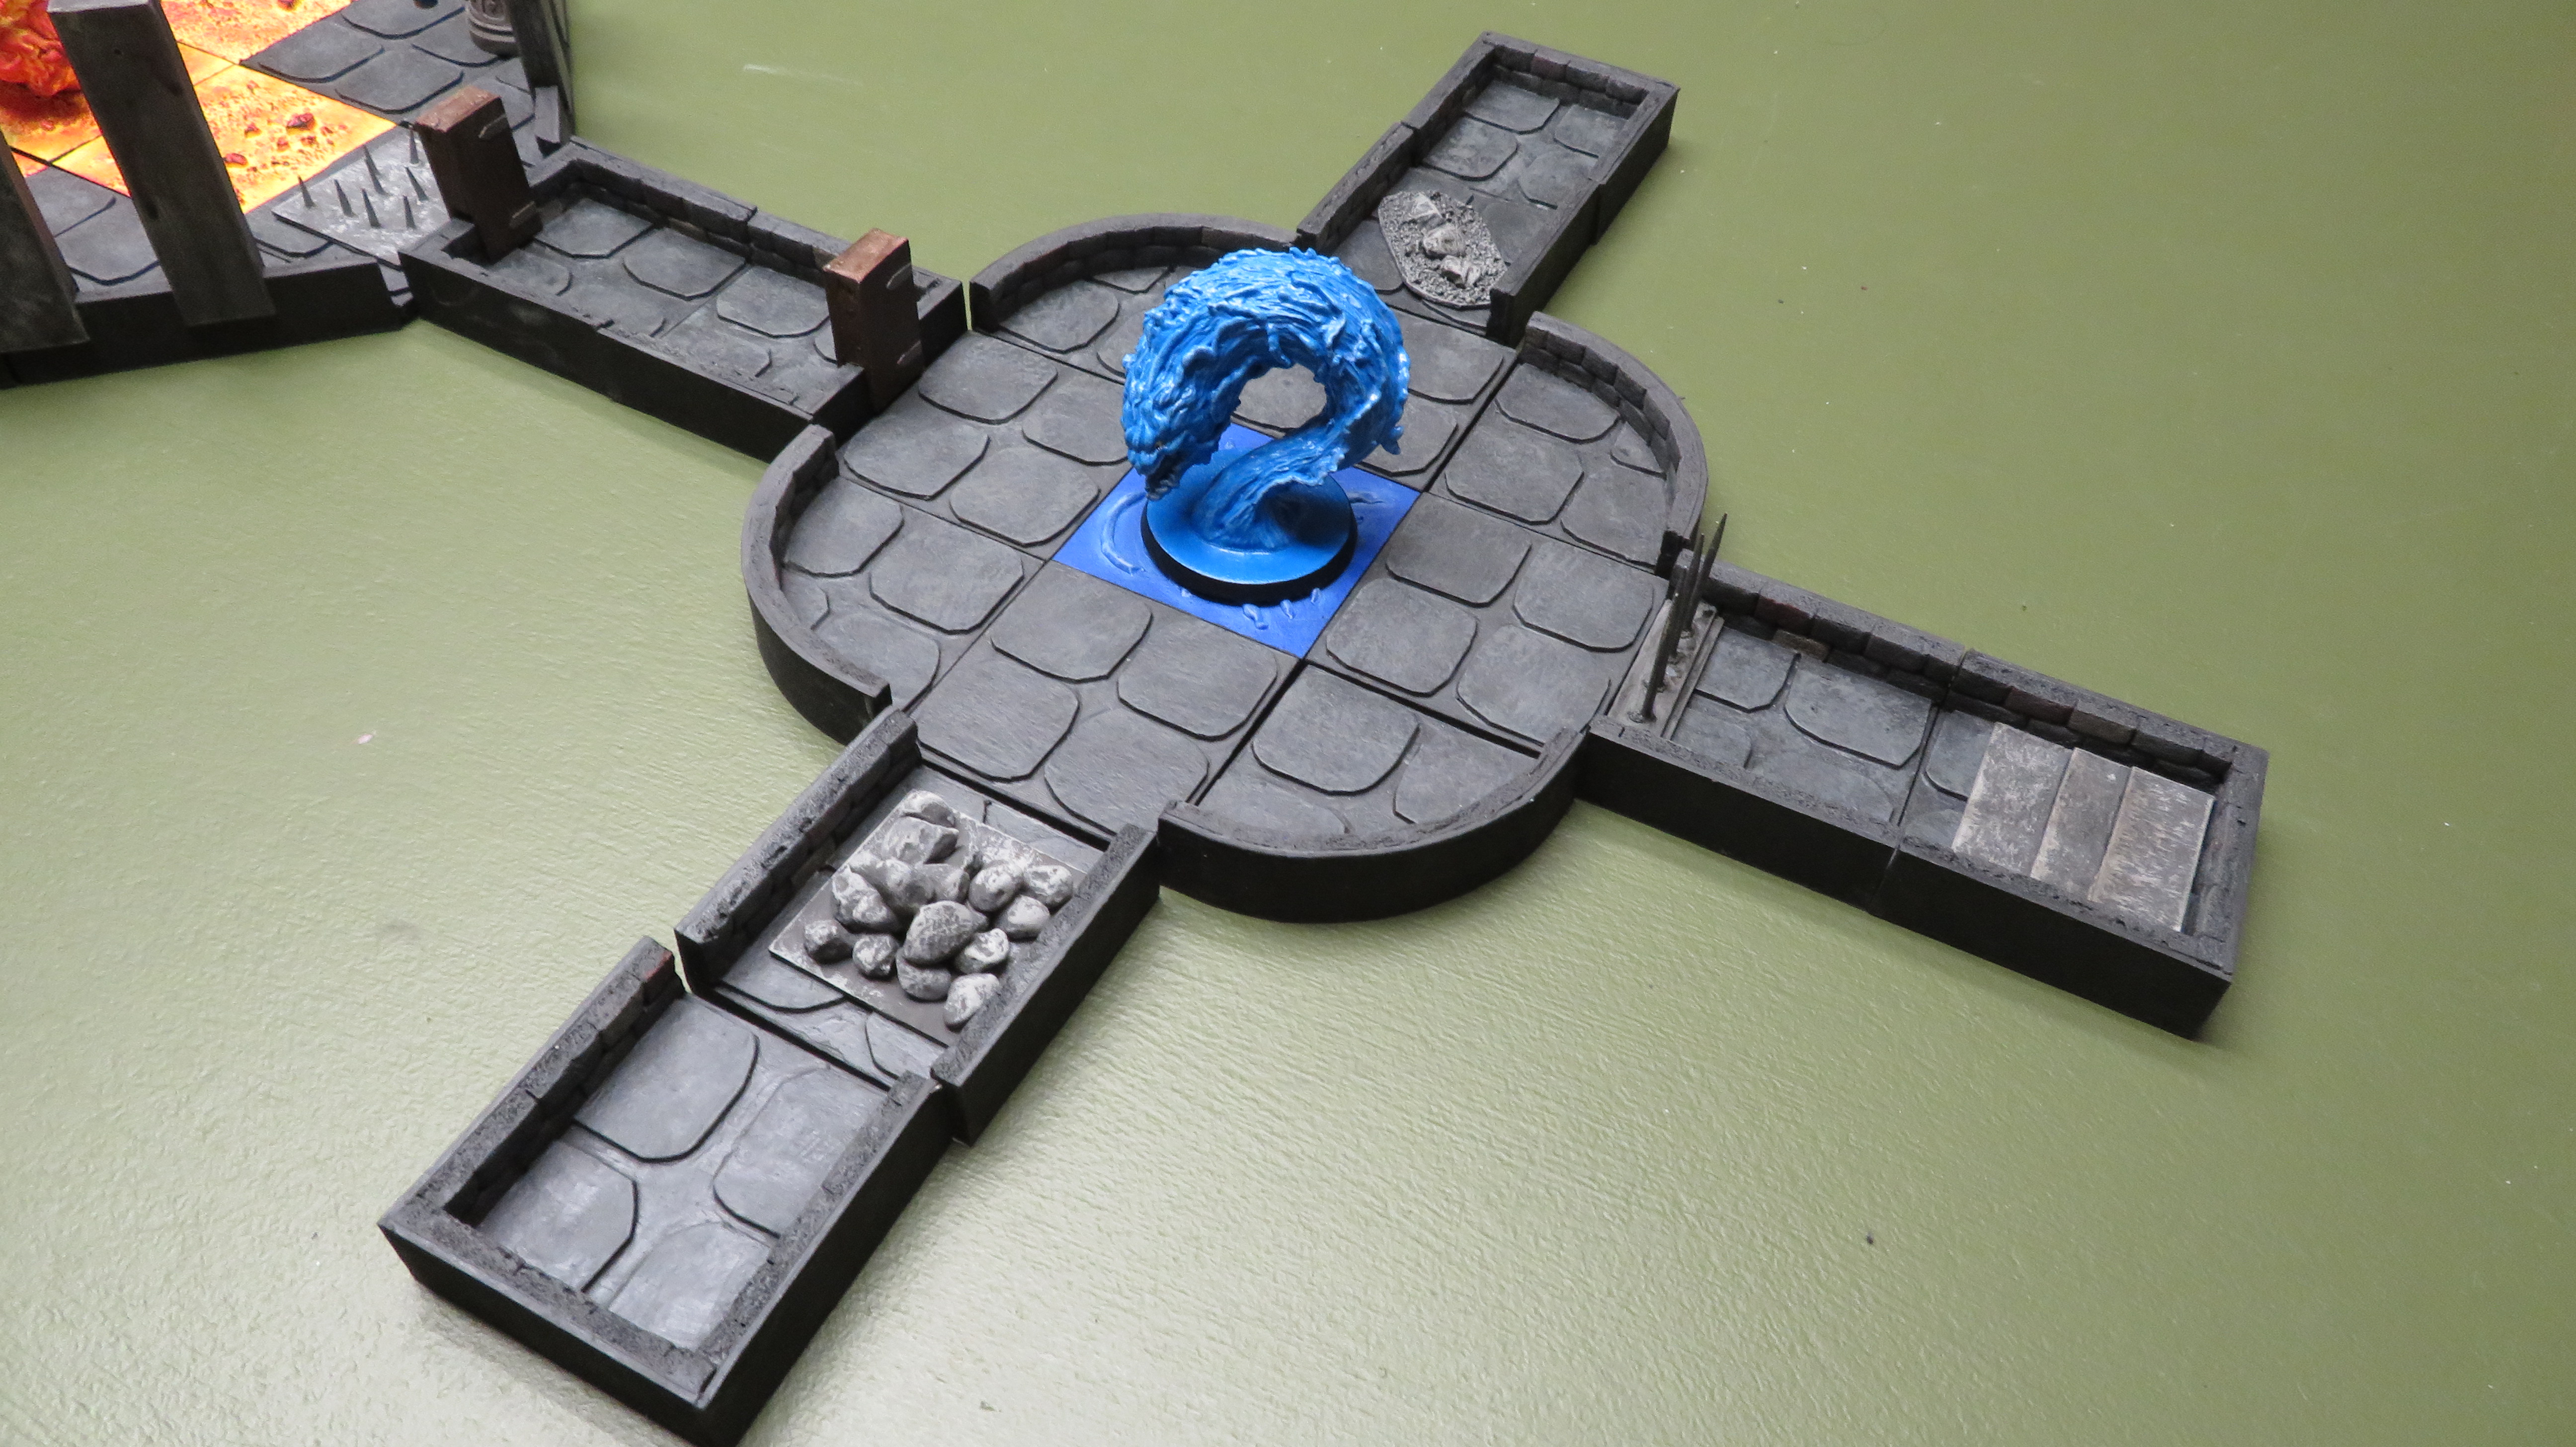
With the above tiles you can produce moderately complex layouts, as shown in the following images. I have added some clip on Doors and Accessories to flesh out the rooms.
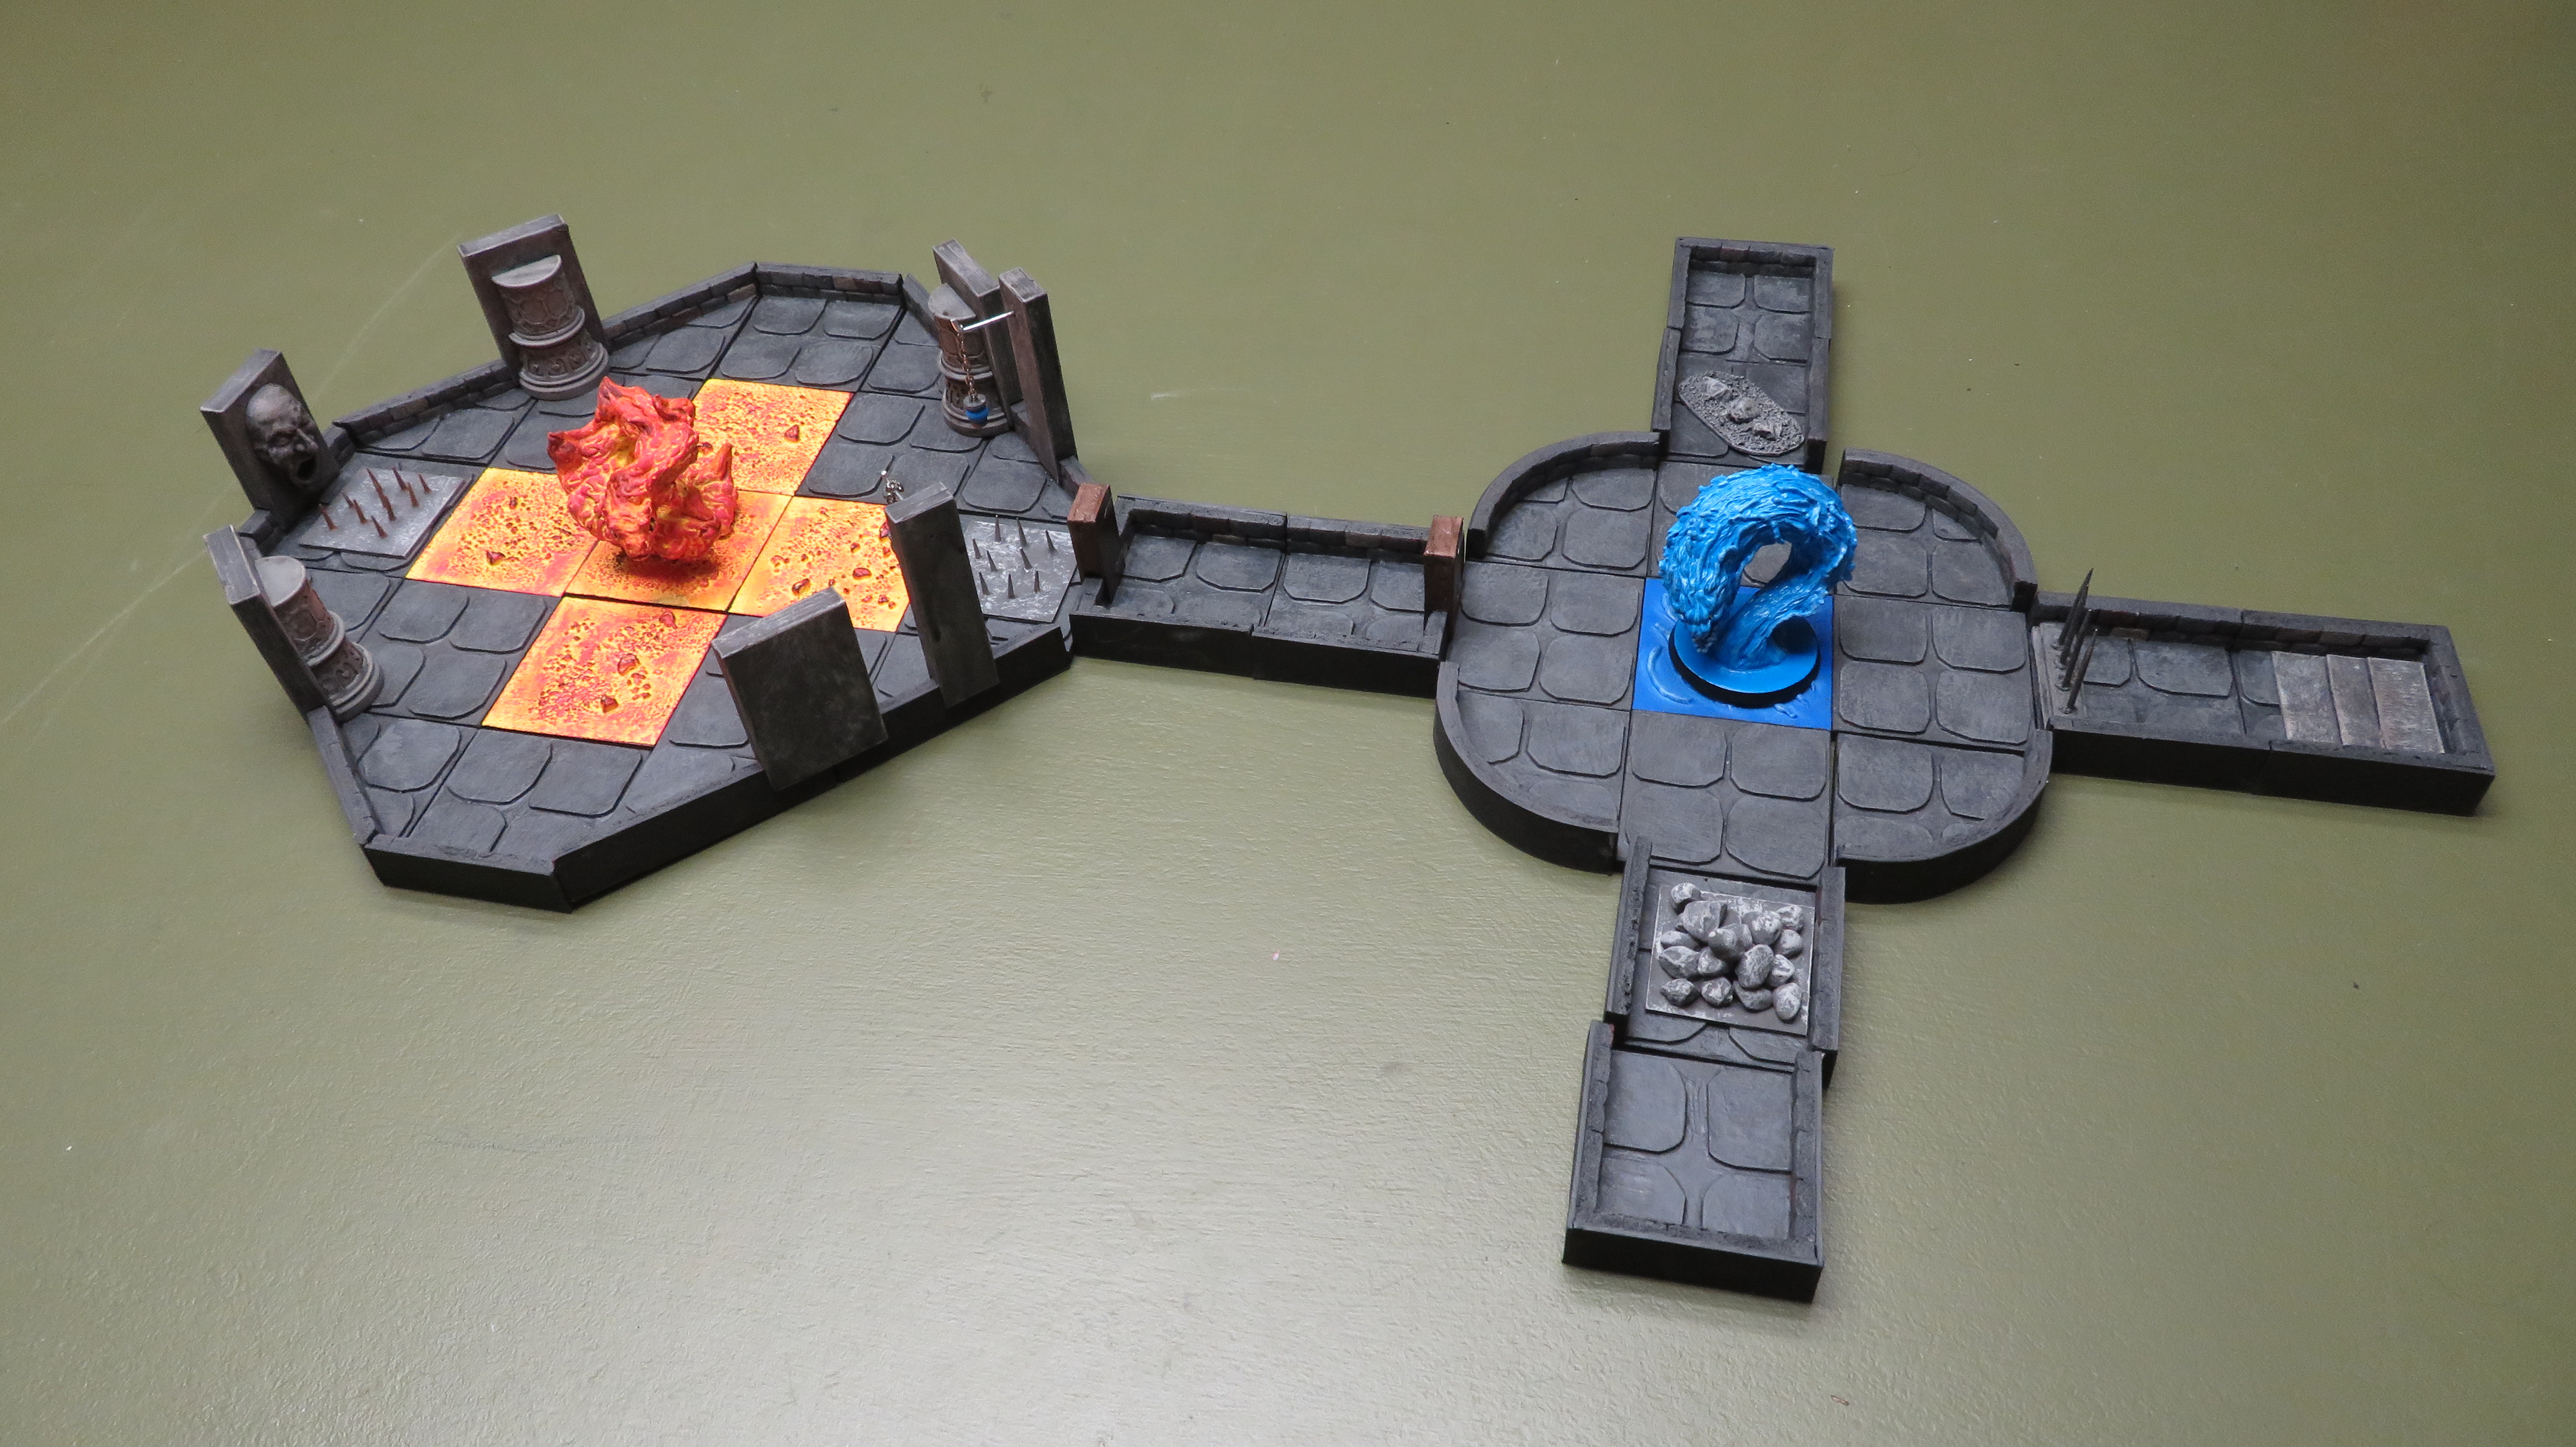
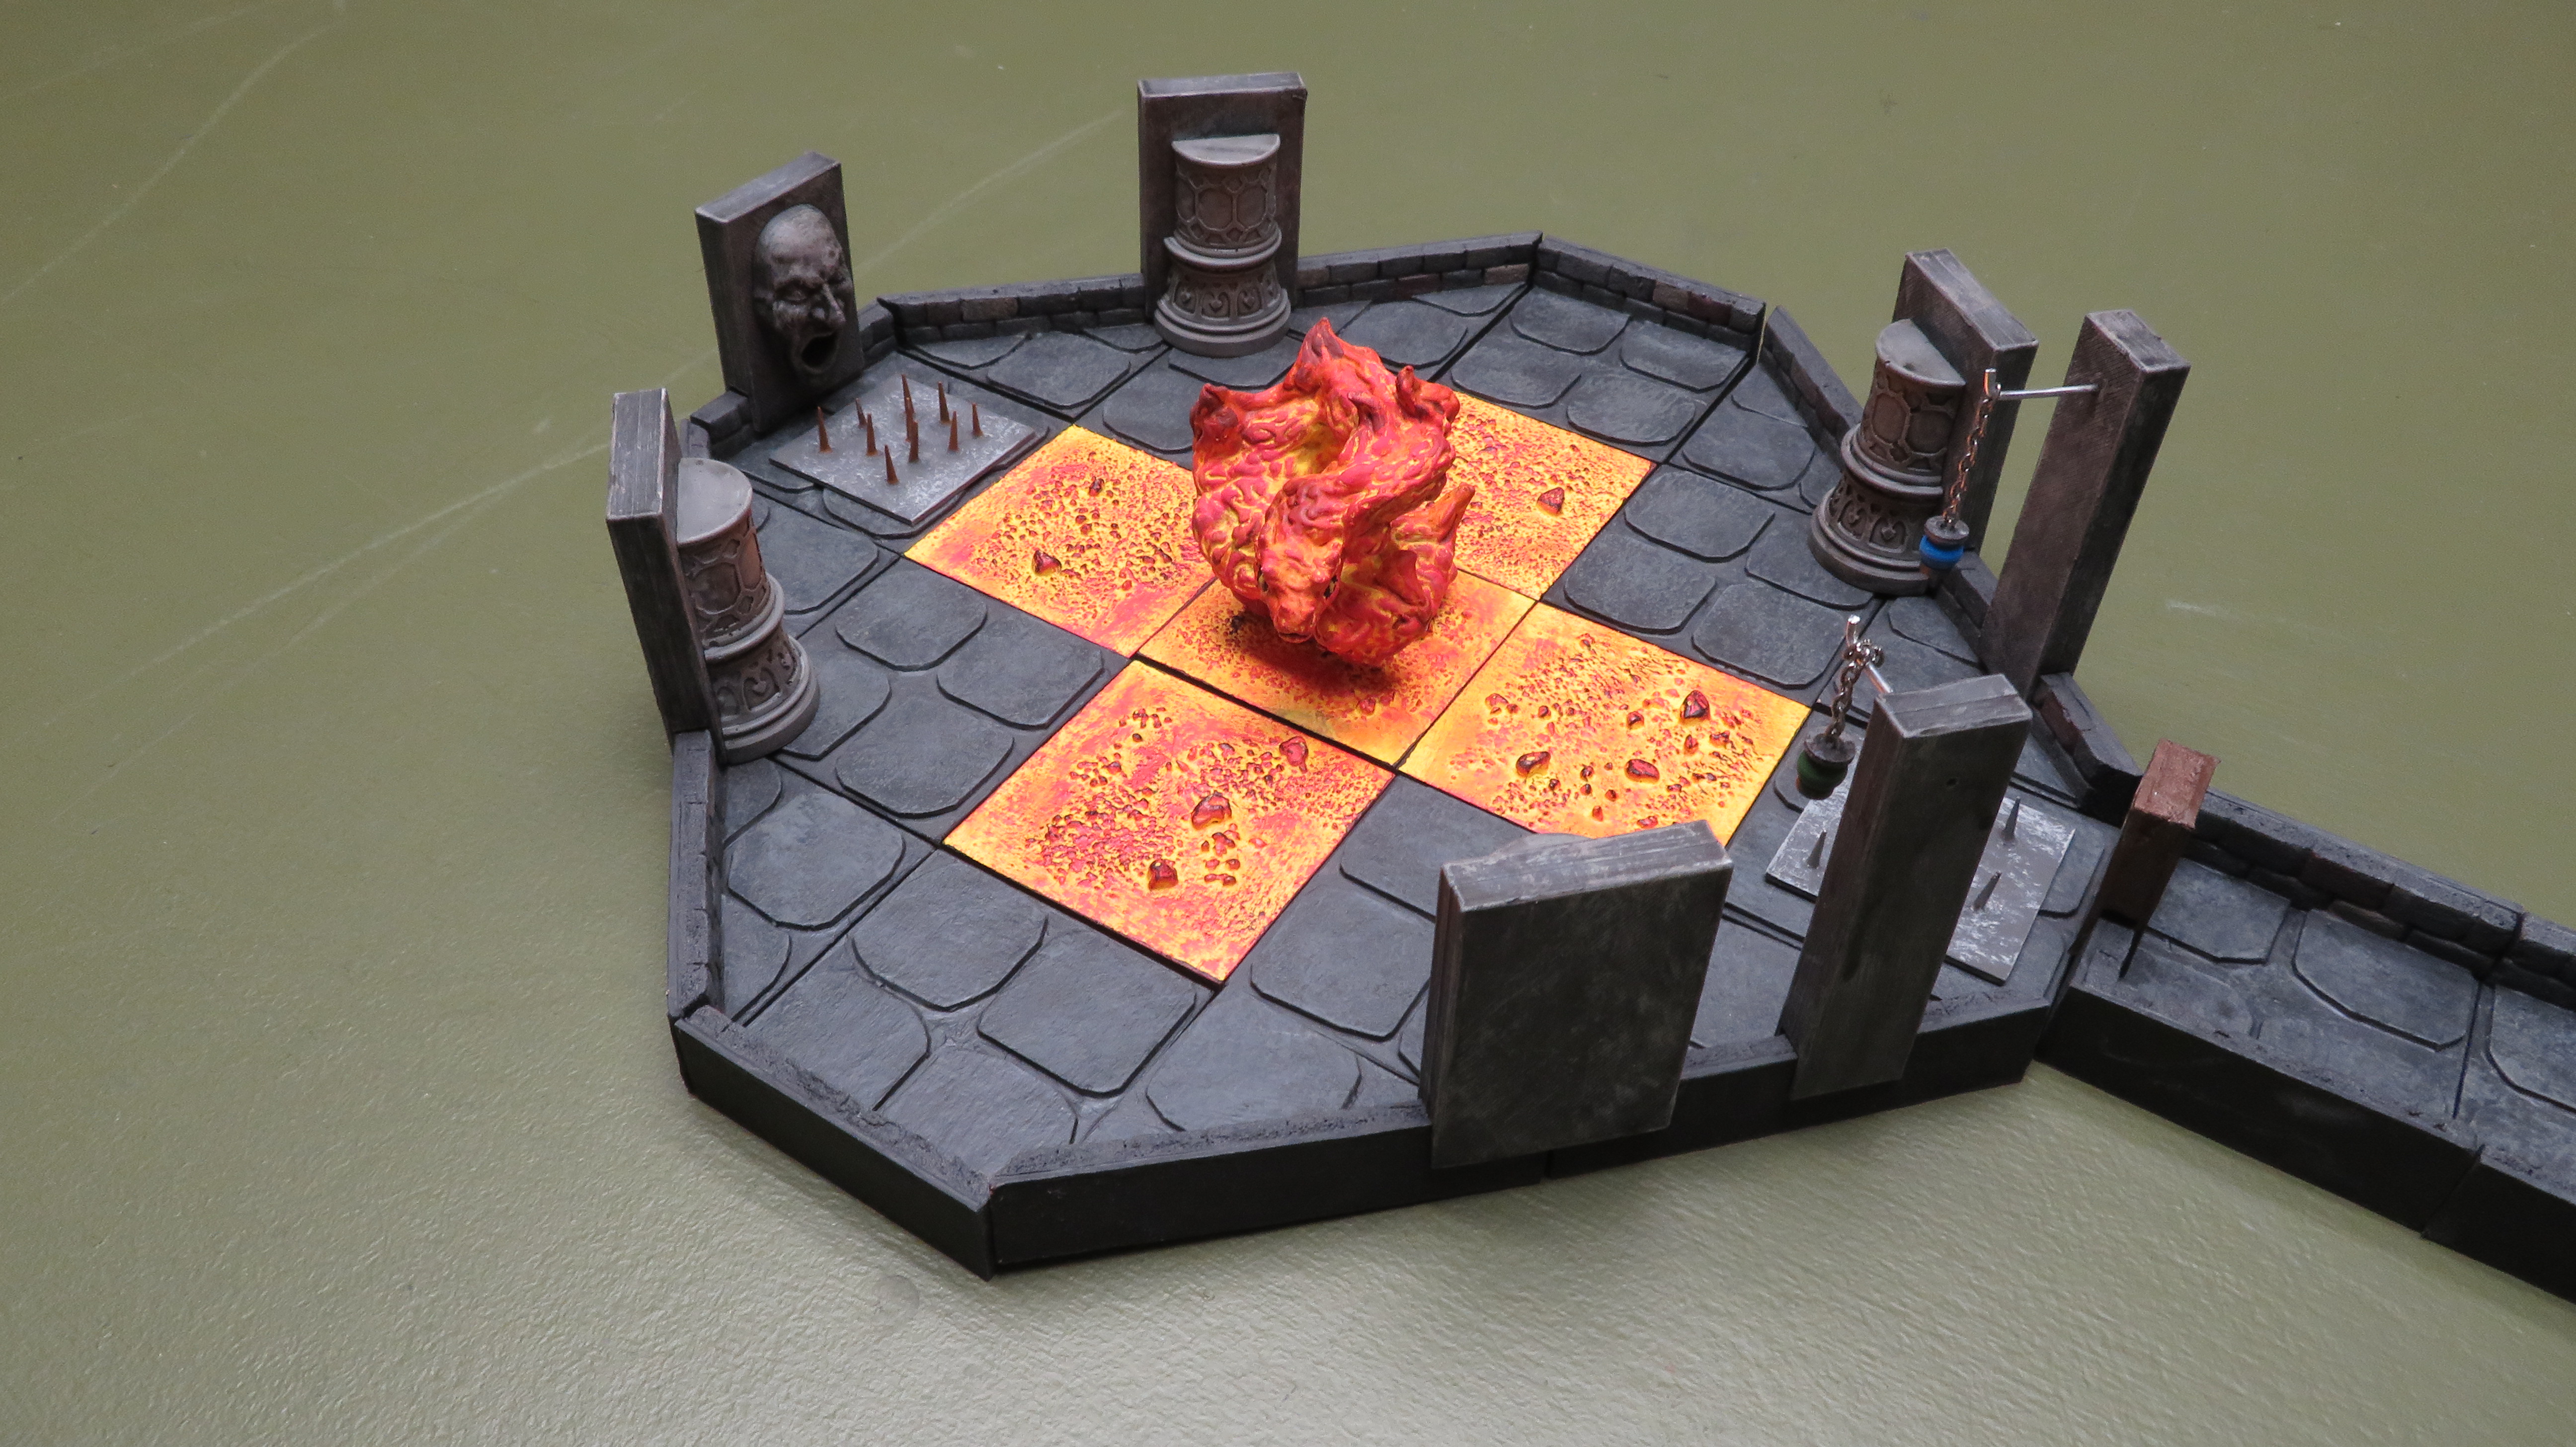
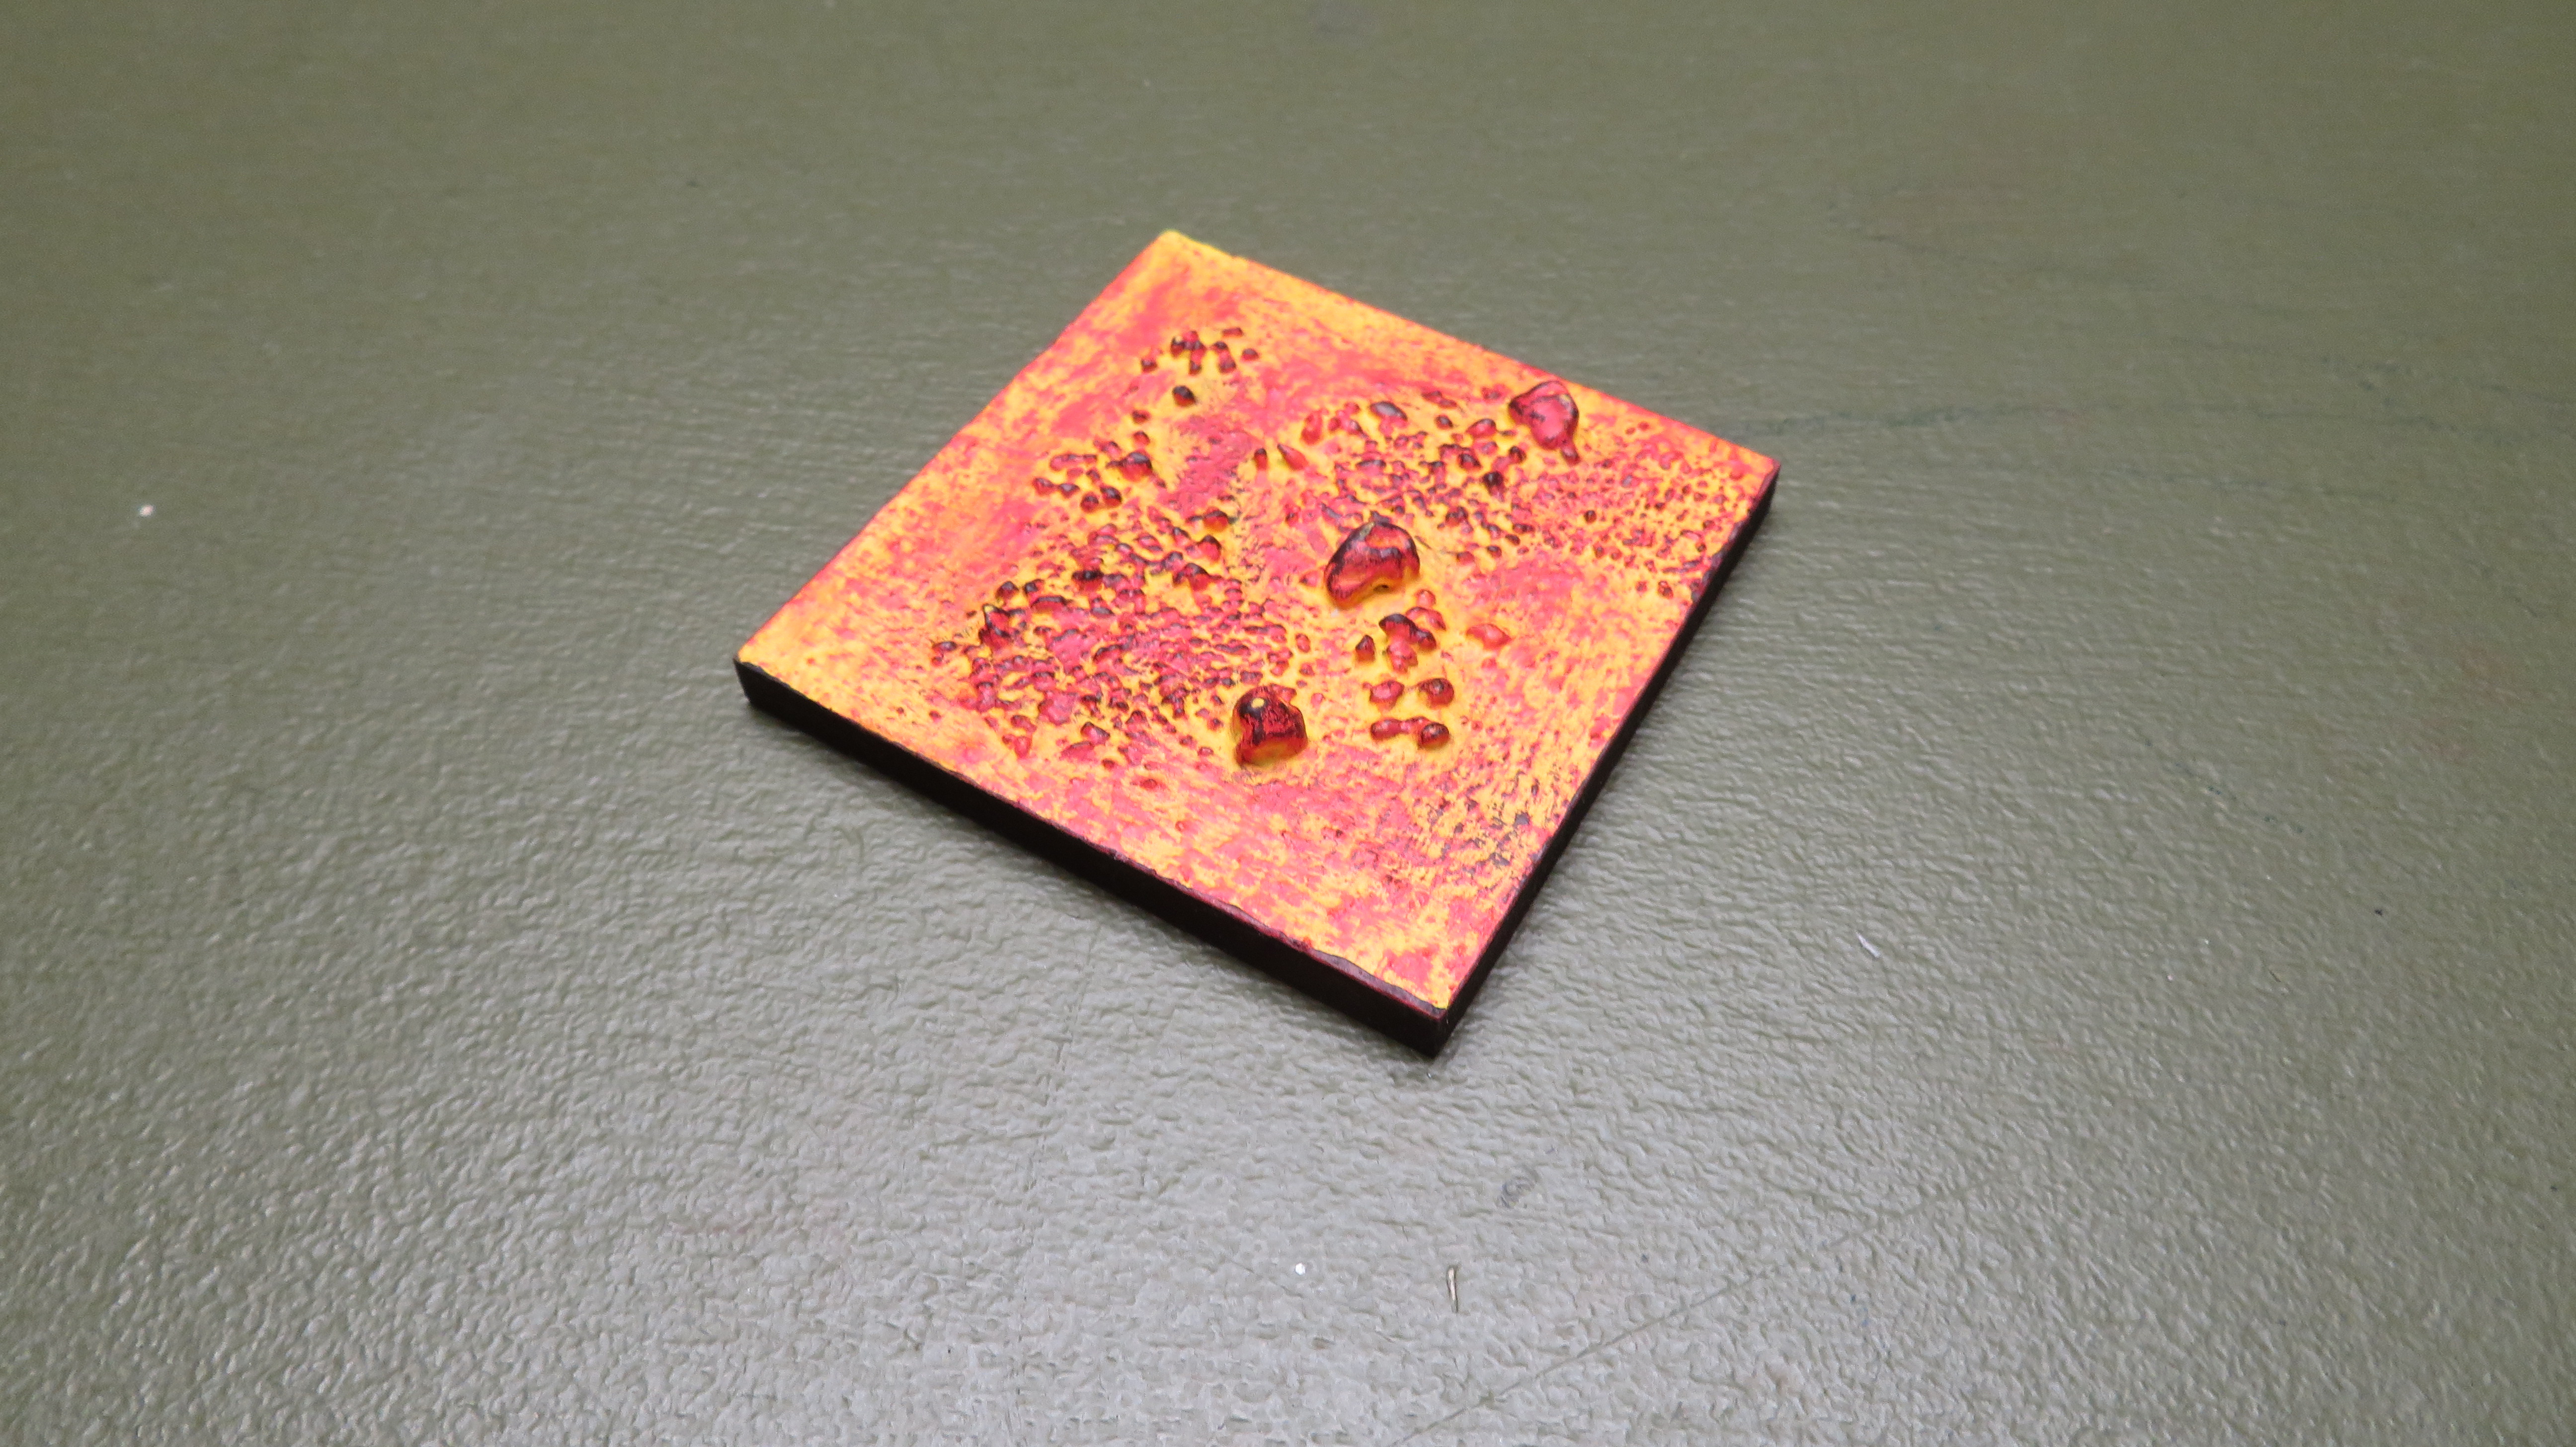
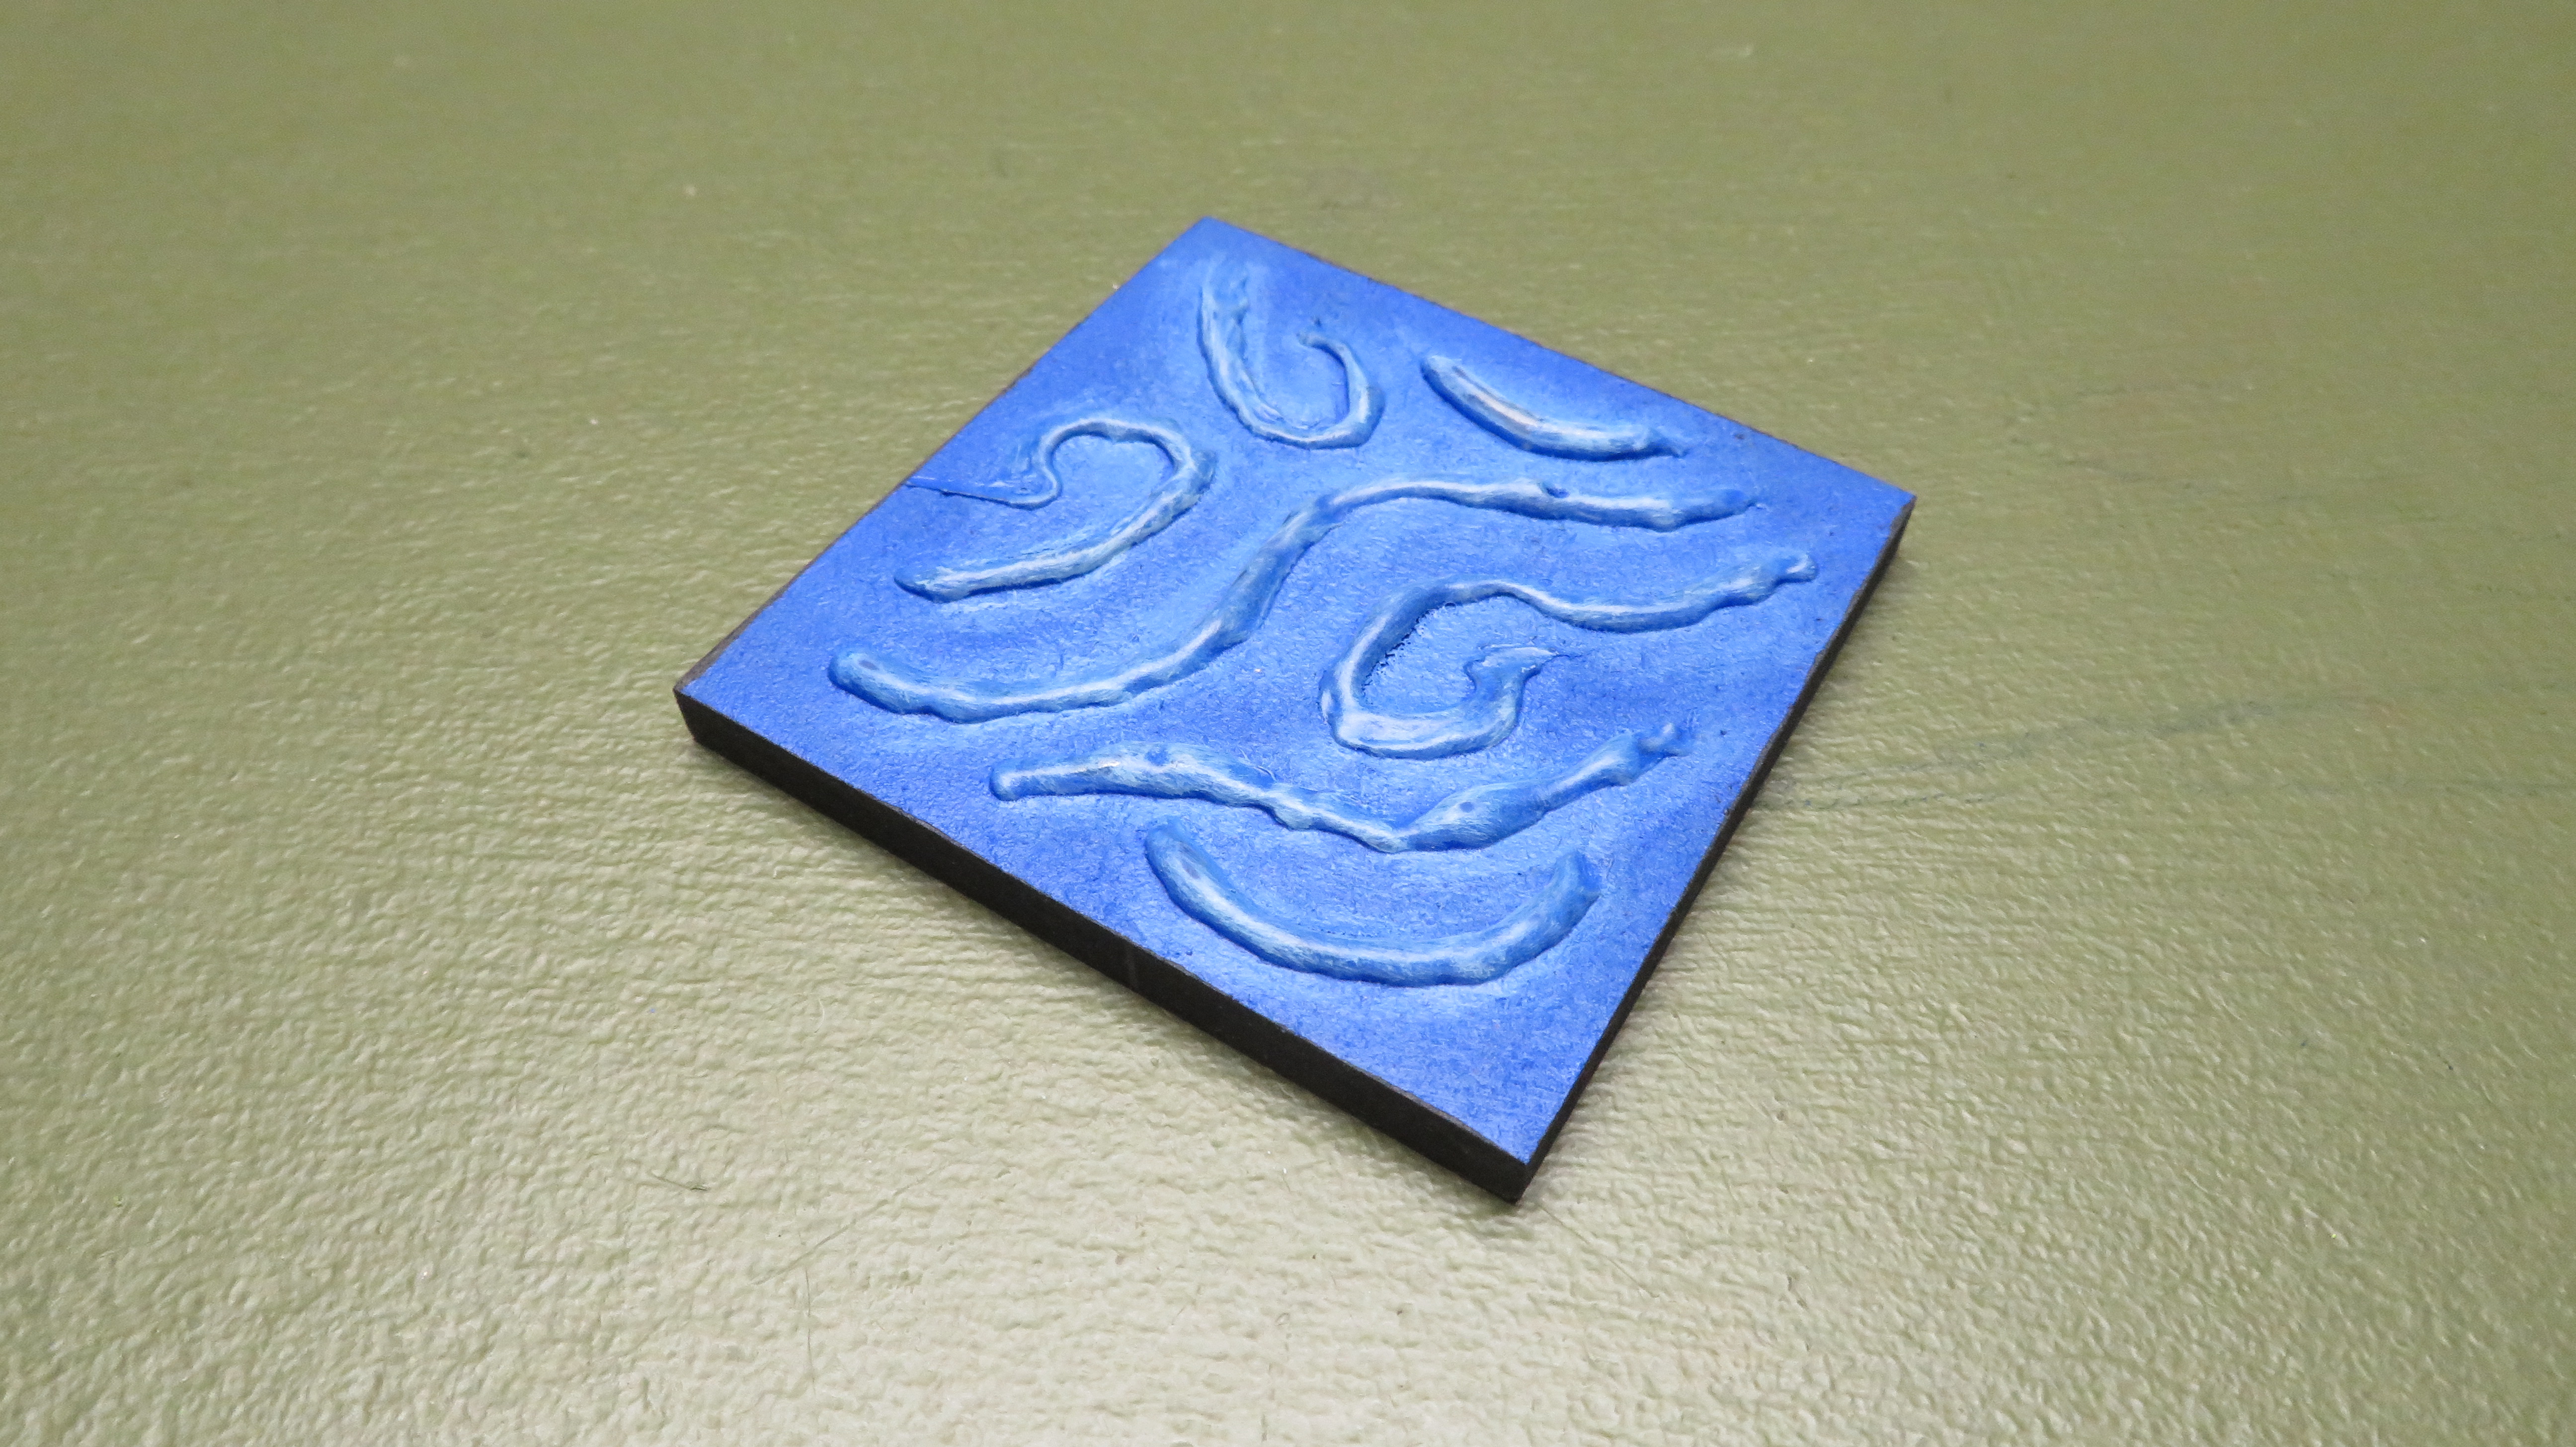
You may have noticed some additional tiles that represent Water and Lava. These are just basic no-wall tiles with:
- In the case of the Lava, covered with PVA glue and sand and small pebbles thrown on. It is then painted a vibrant Yellow the dry-brushed with Orange, then dry-brushed with Red then finally very very lightly dry-brushed with black.
- In the case of the Water, I just used a Hot-Glue gun and ran a number of wavy lines across the face of a tile and painted it with a Medium Blue, then dry-brushed with a Light Blue.
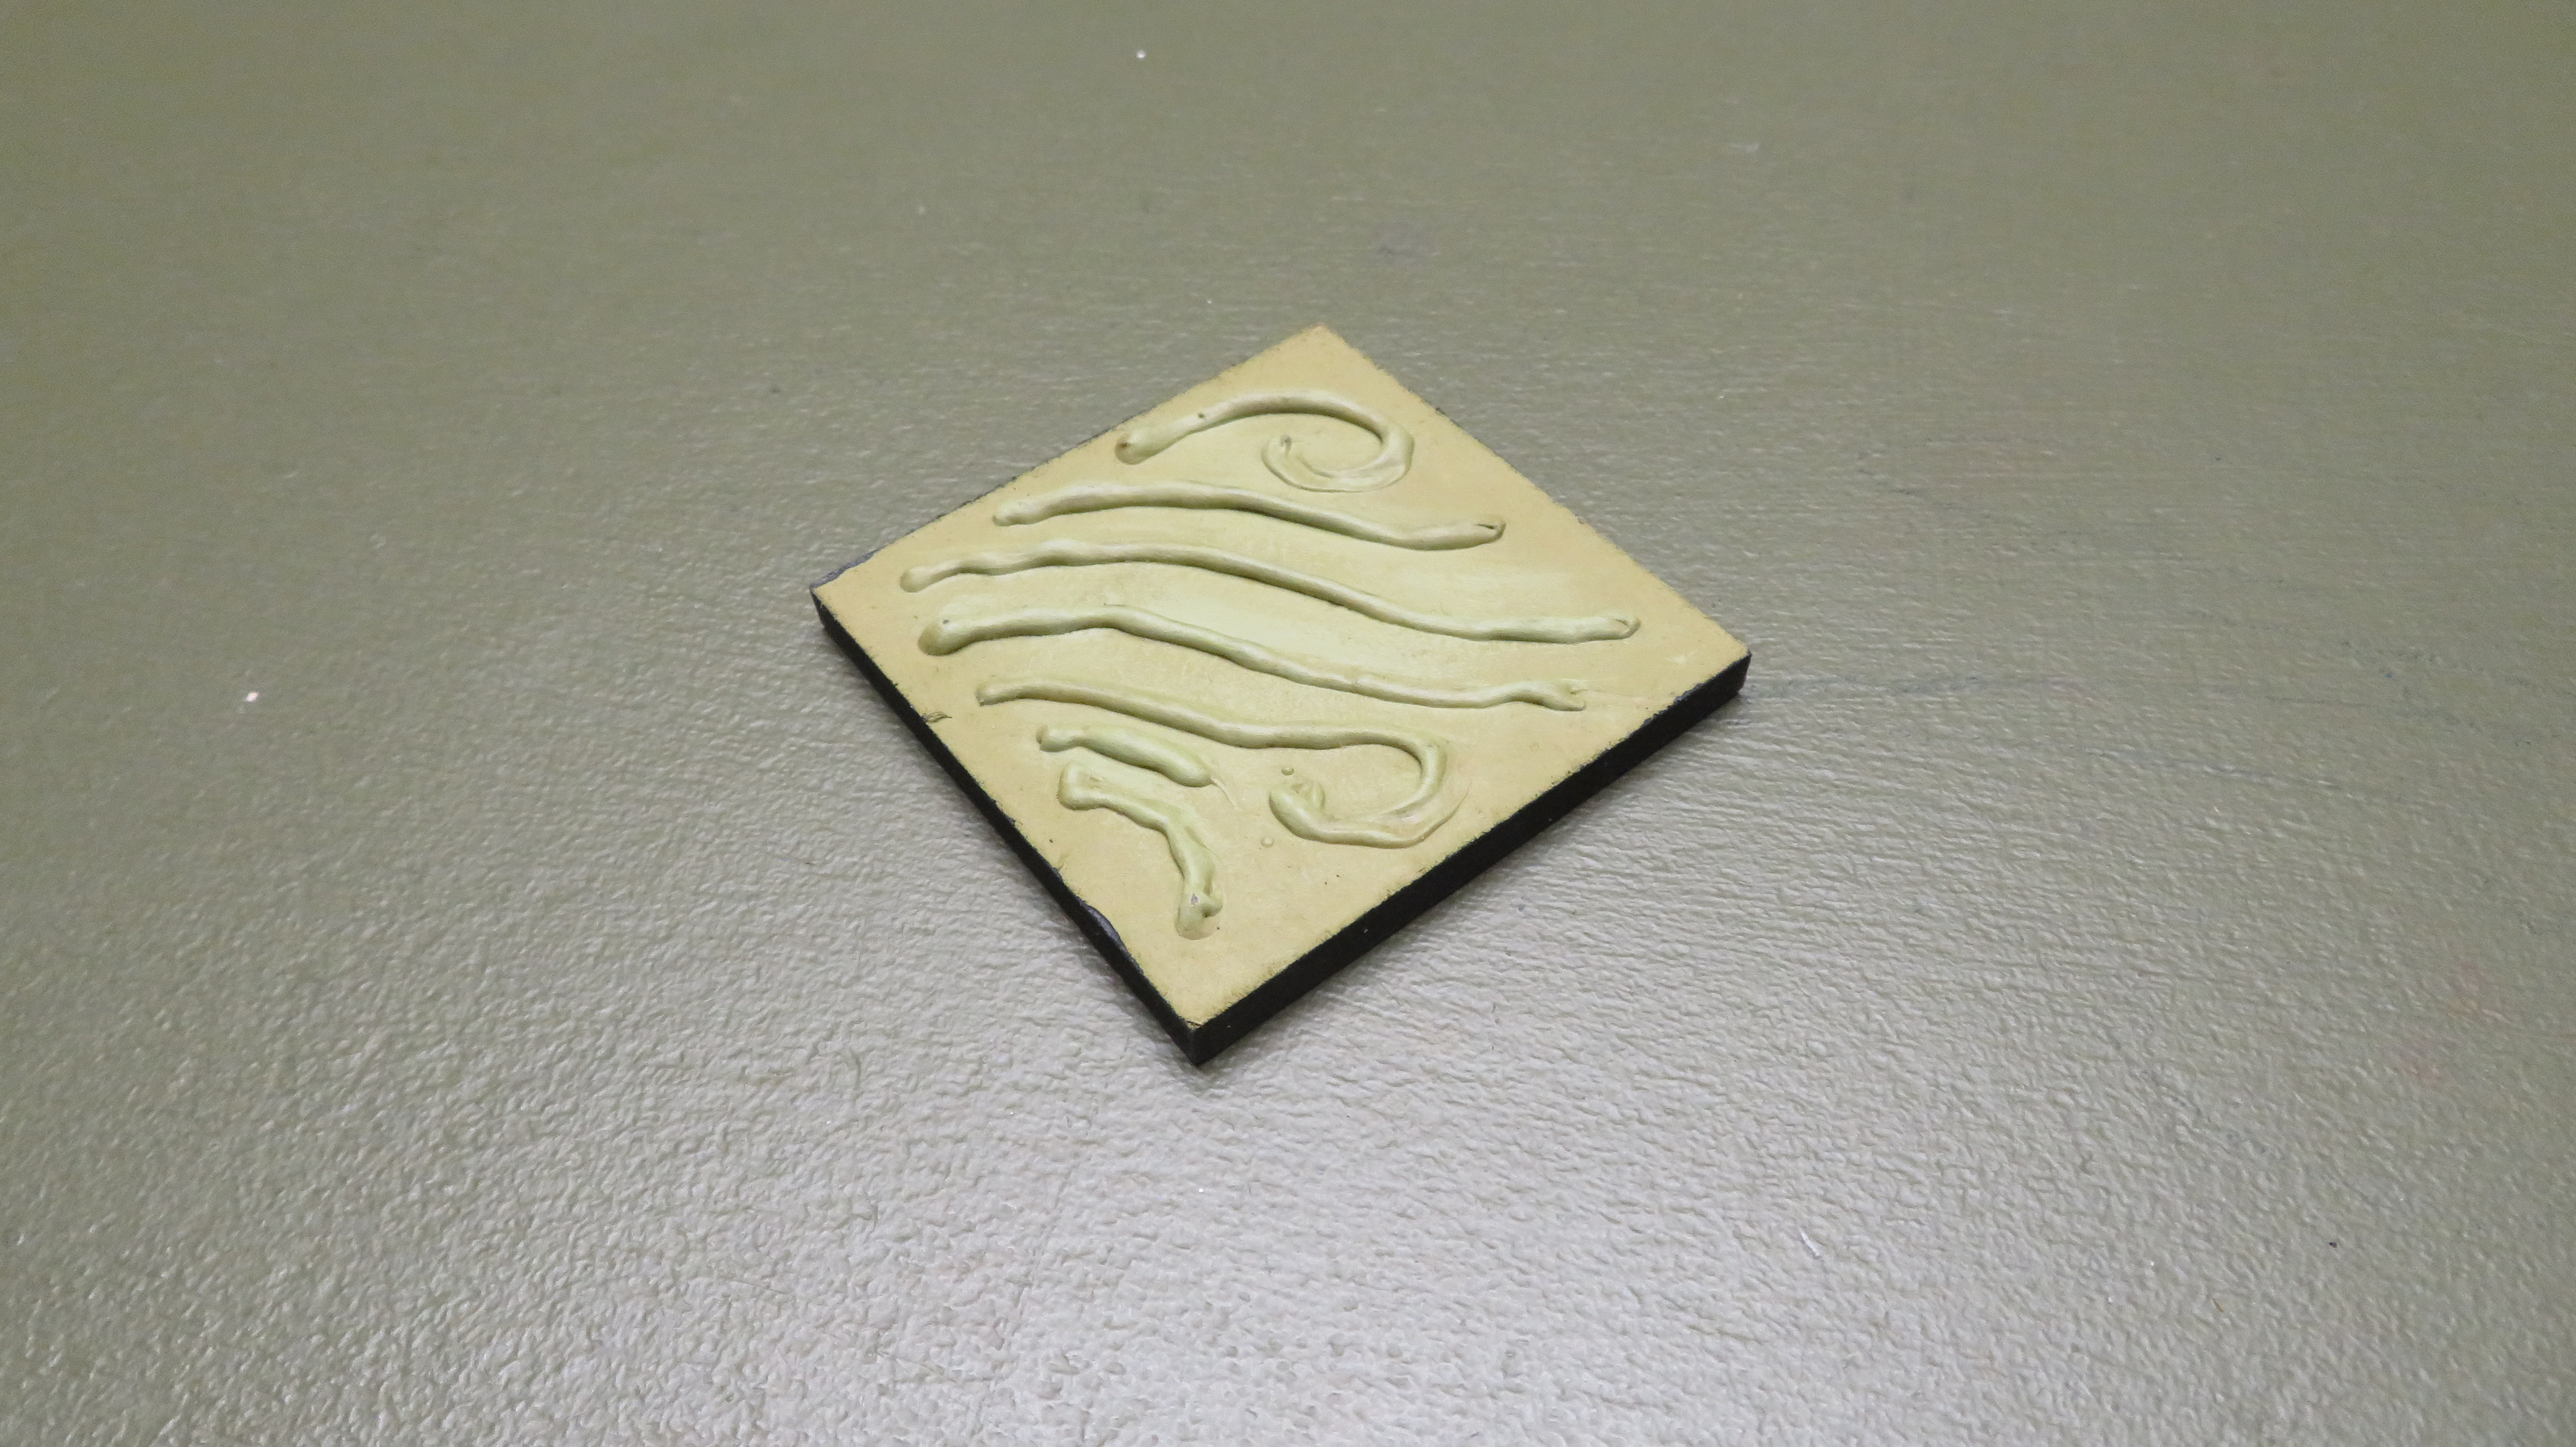
- I also made a Fetid Water tile. I used used a Hot-Glue gun and ran a number of wavy lines across the face of a tile and painted it with and Olive Green, then dry-brushed with a Light Green.